Multi Step Marketing Popup
Fydelia ensures each guest sees content that’s relevant to them using a fun way to capture their birthday.
Personalize destinations and campaigns without adding friction to the login experience. Customize how your guests opt-in to marketing while you're at it.
Prerequisites: You must already be in edit mode with your splash page. (See Finding and Editing Your Splash Page.)
Opt-in Options & Content
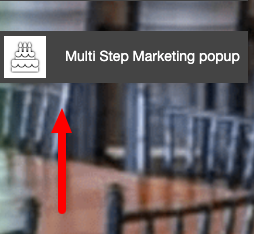
1. Hover over the widget until you see the blue Edit button appear in the upper lefthand corner of the widget and click it. The Multi Step Marketing Popup configuration panel will appear.
2. Bypass Opt-in - Setting this to Yes, guests are automatically opted in. They are not given the chance to say No to marketing. The Marketing Popup Content will not be displayed.
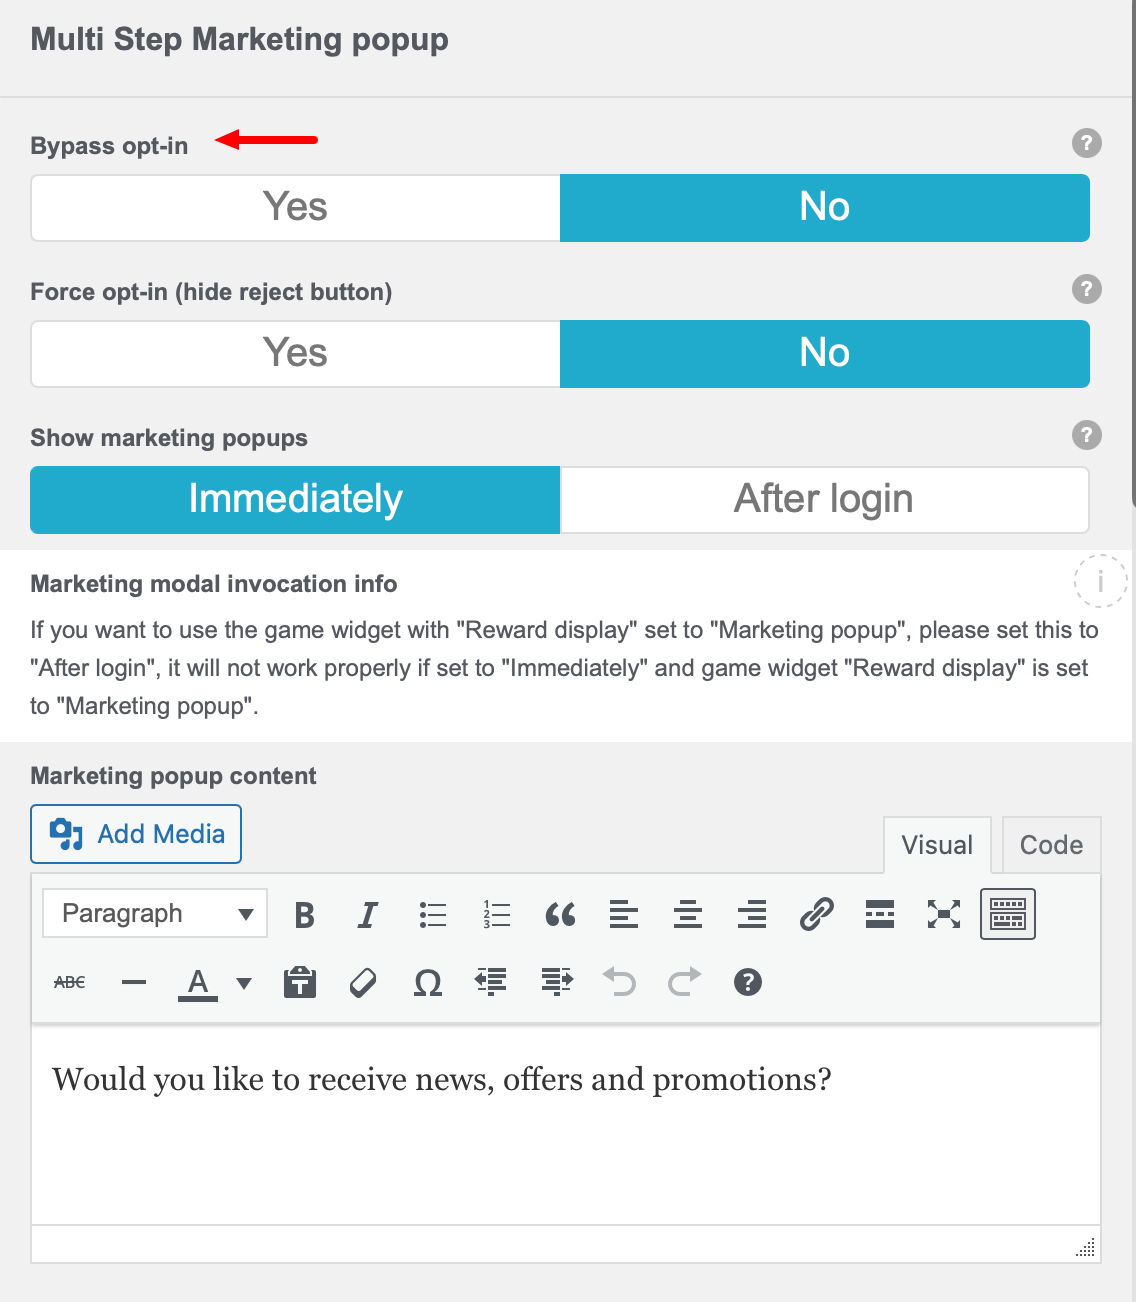
Please consult the privacy laws for your region before setting this to Yes.
3. Force Opt-in - Setting this to Yes, guest are only given the option to Opt-in to marketing.
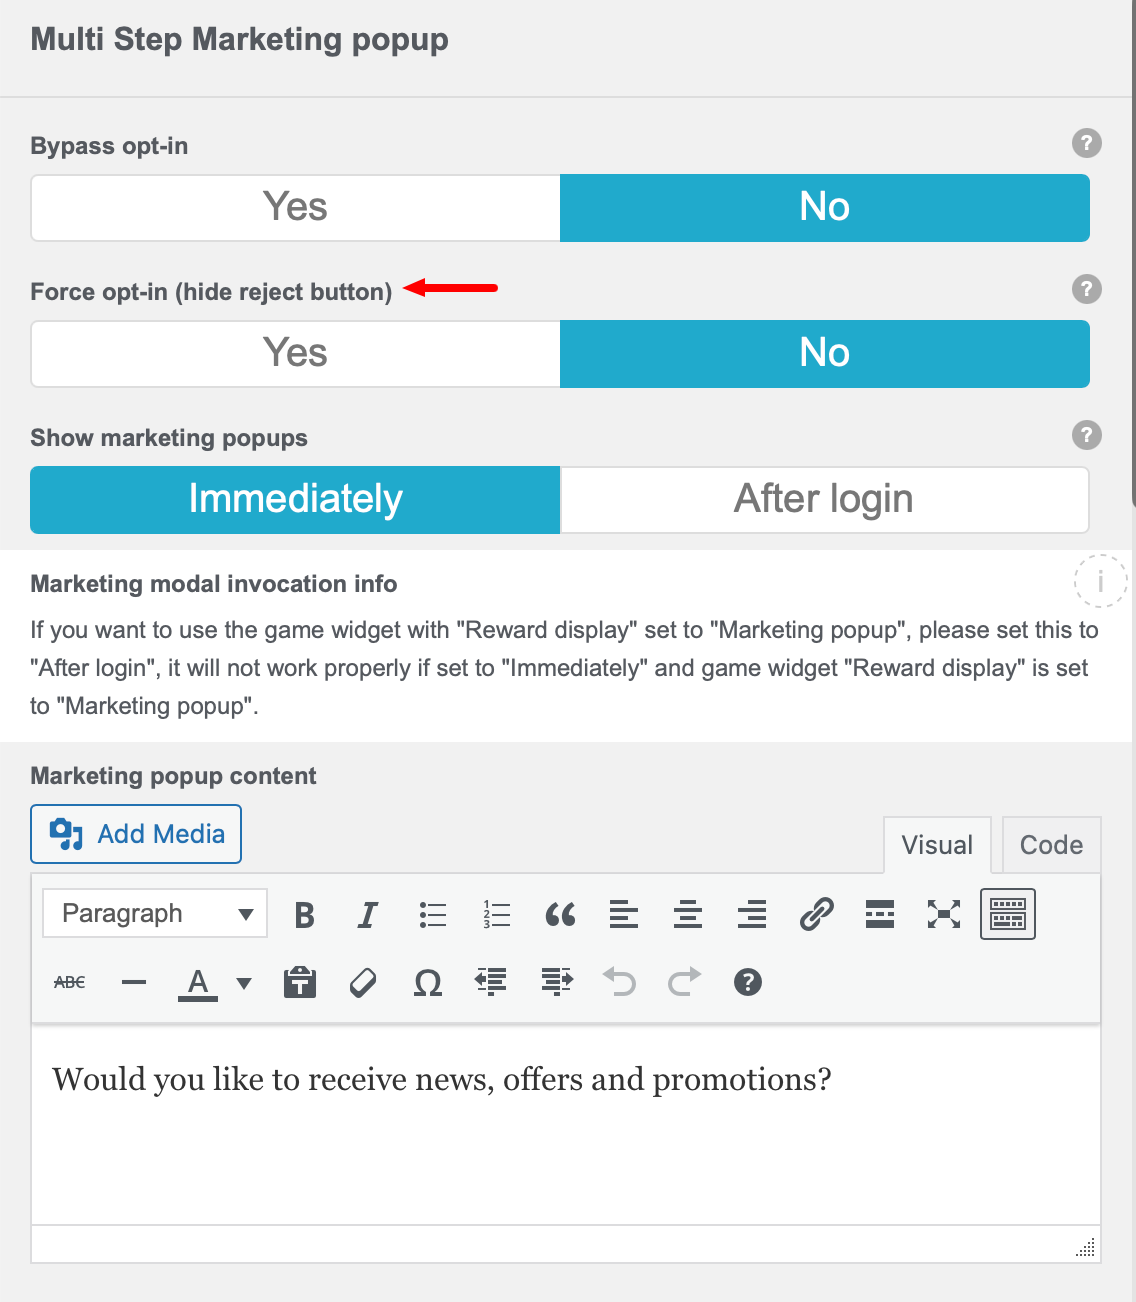
Please consult the privacy laws for your region before setting this to Yes.
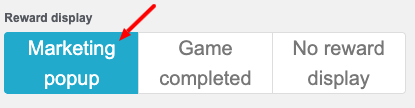
4. Show Marketing Popups - This setting determines when your guests will see your marketing content; before or after guests complete the form.
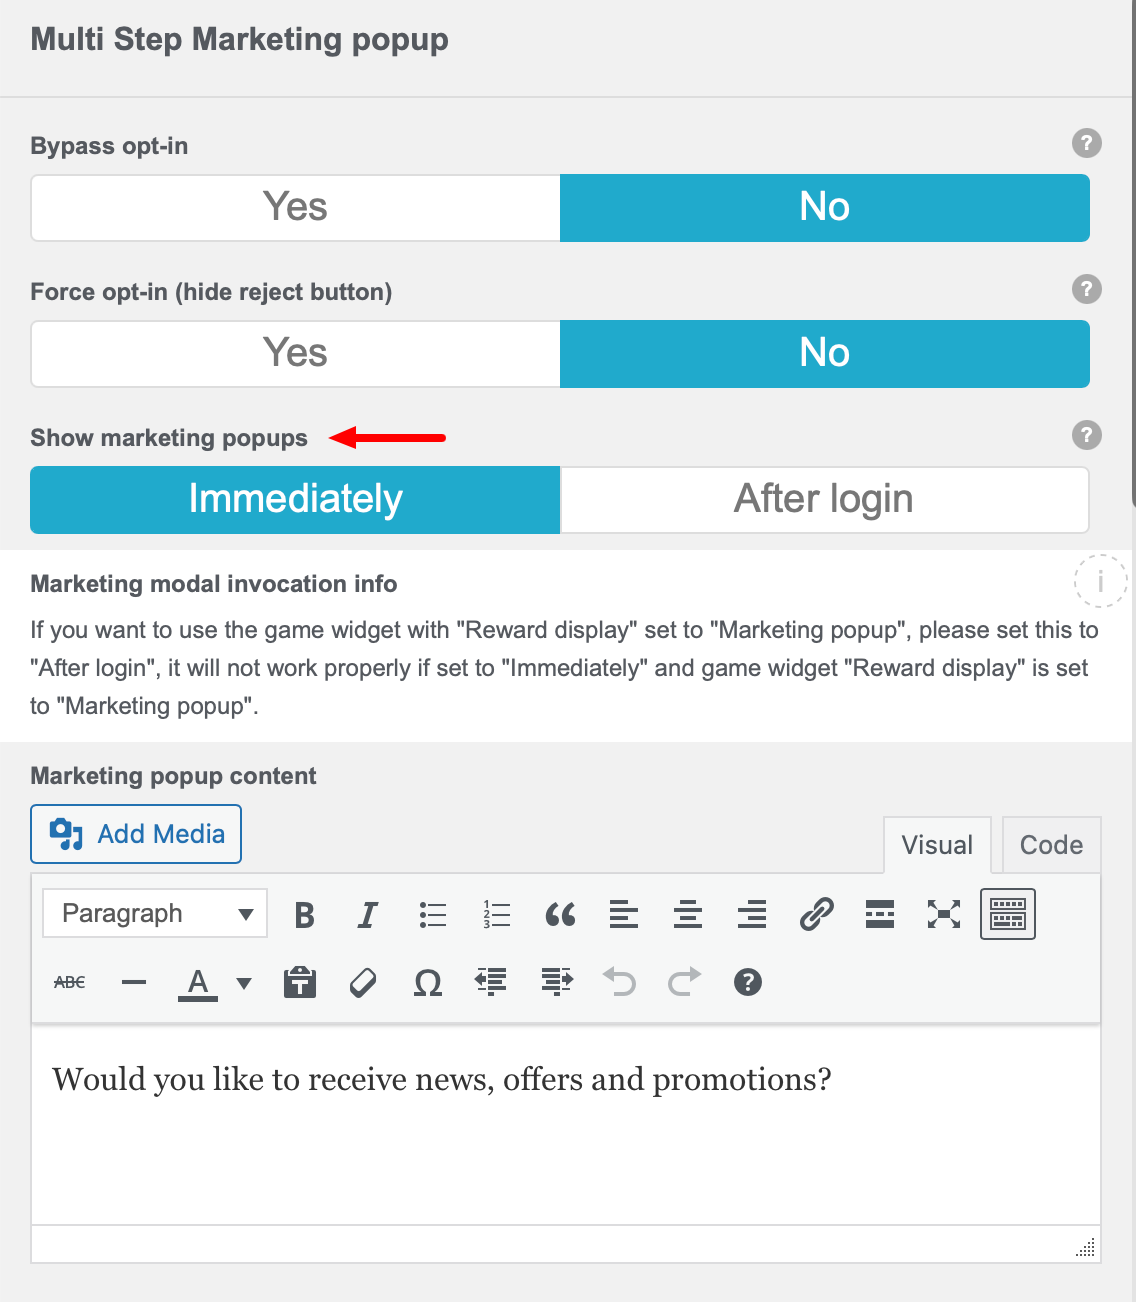
As described in the above screenshot, please ensure Reward Display is set accordingly in the Game Widget.
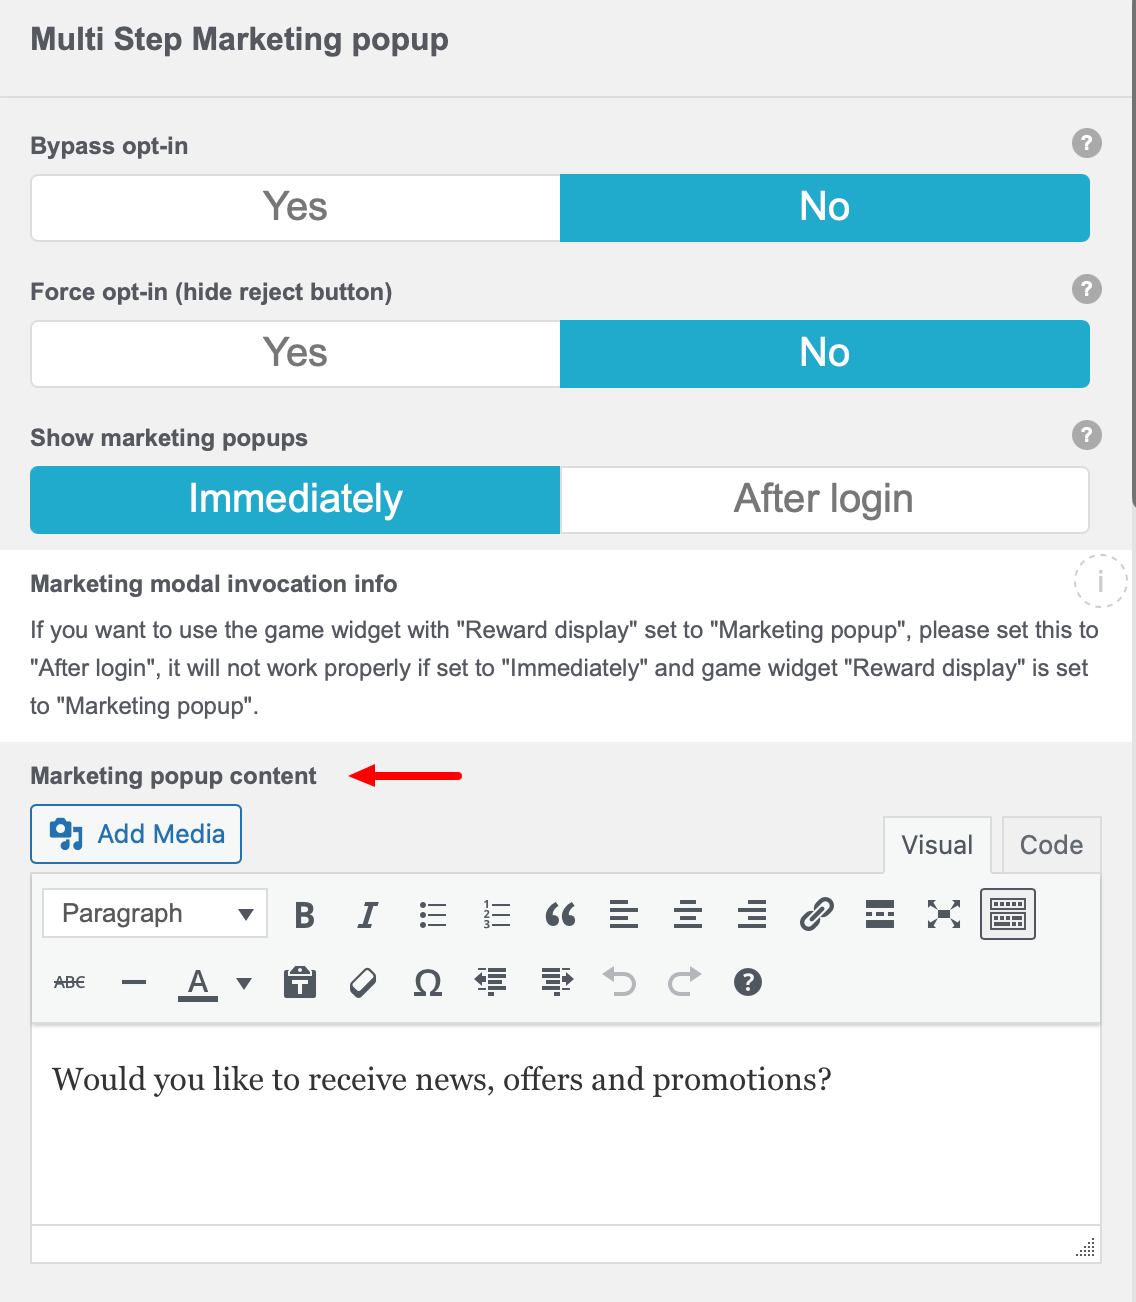
5. Marketing Popup Content - This is the message your guests will see if you have not set Bypass Opt-in to Yes.
Acceptance Styling
6. Style - This setting gives you three options for customizing the color and text of your buttons on the Marketing Popup Content box when it is displayed to your guests.
The options are:
• red REJECT - green ACCEPT
• green Yes - neutral No, thank you
• Custom

These colours are also used on your AdCards buttons.
7. Custom "Accept" Color - Click inside the cell to display the color picker to pick the color your button. You can also enter the hex# if you have a specific brand color.
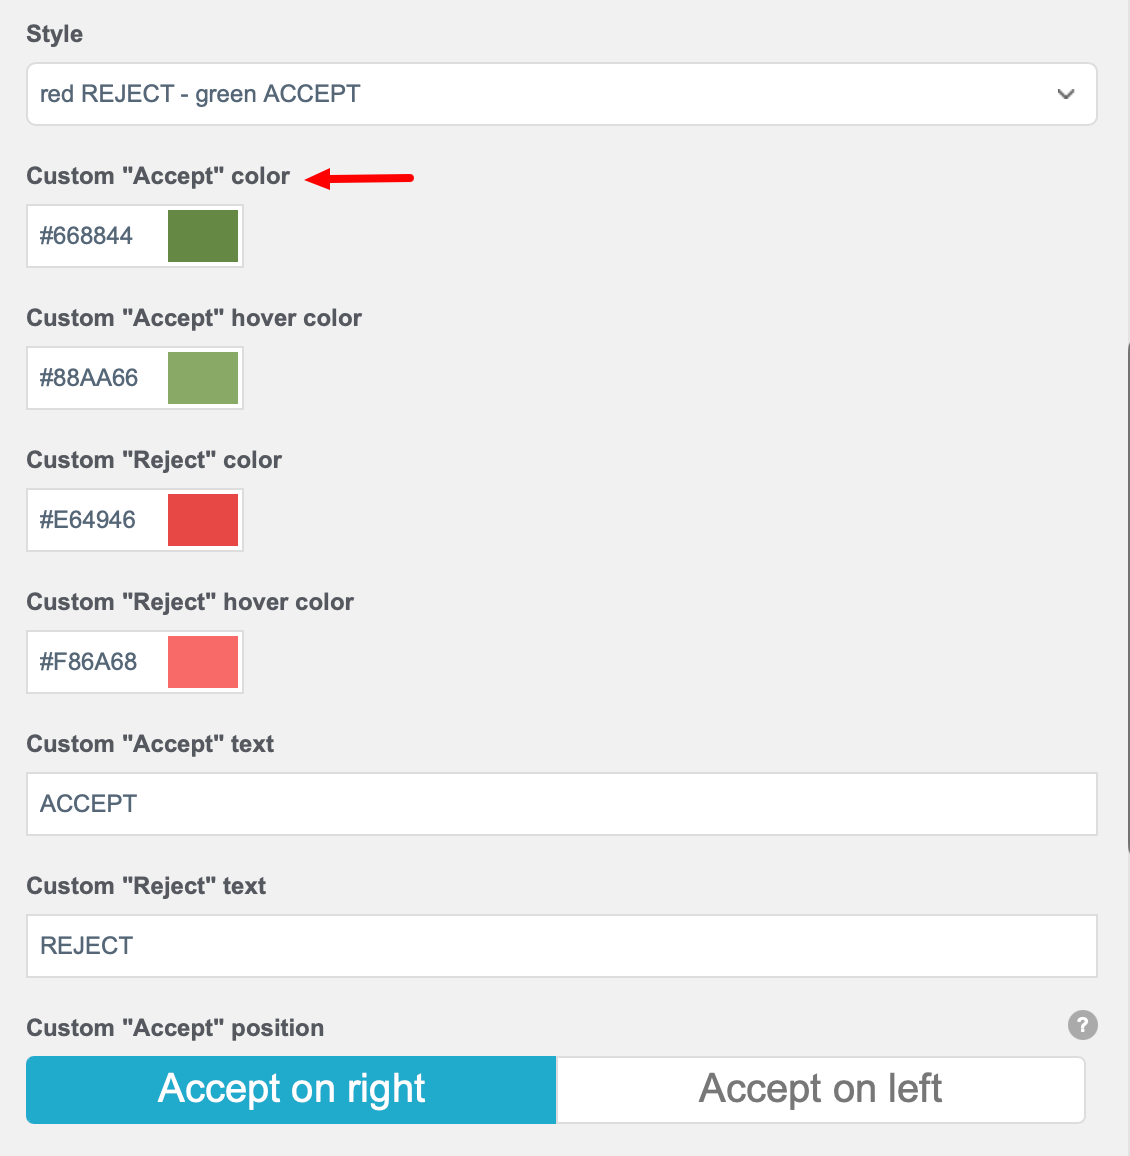
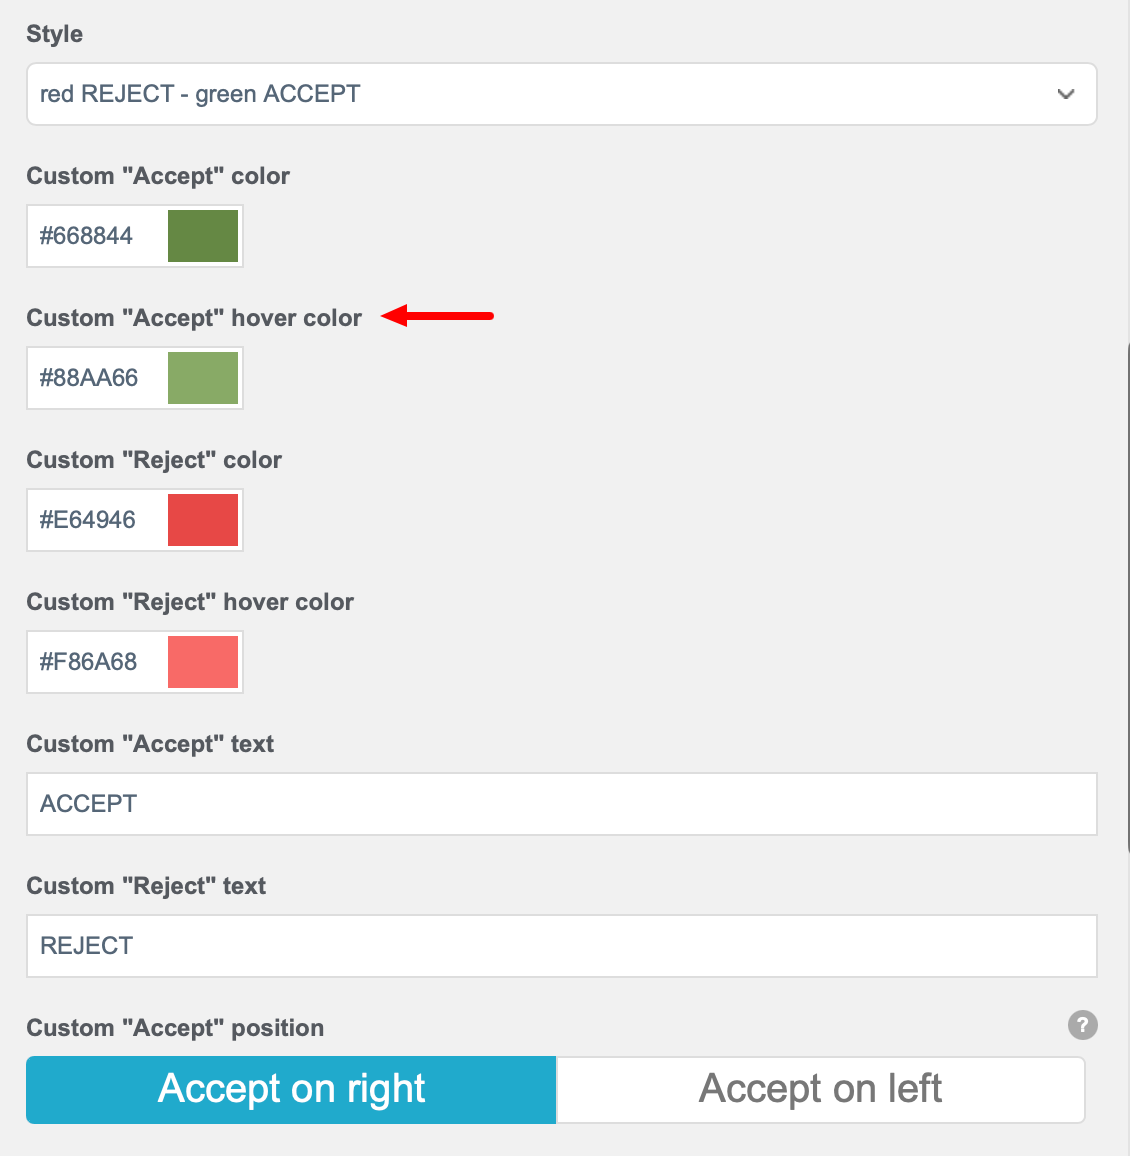
8. Custom "Accept" Hover Color - Click inside the cell to display the color picker to pick the color your button when a guest hovers over the button. You can also enter the hex# if you have a specific brand color.
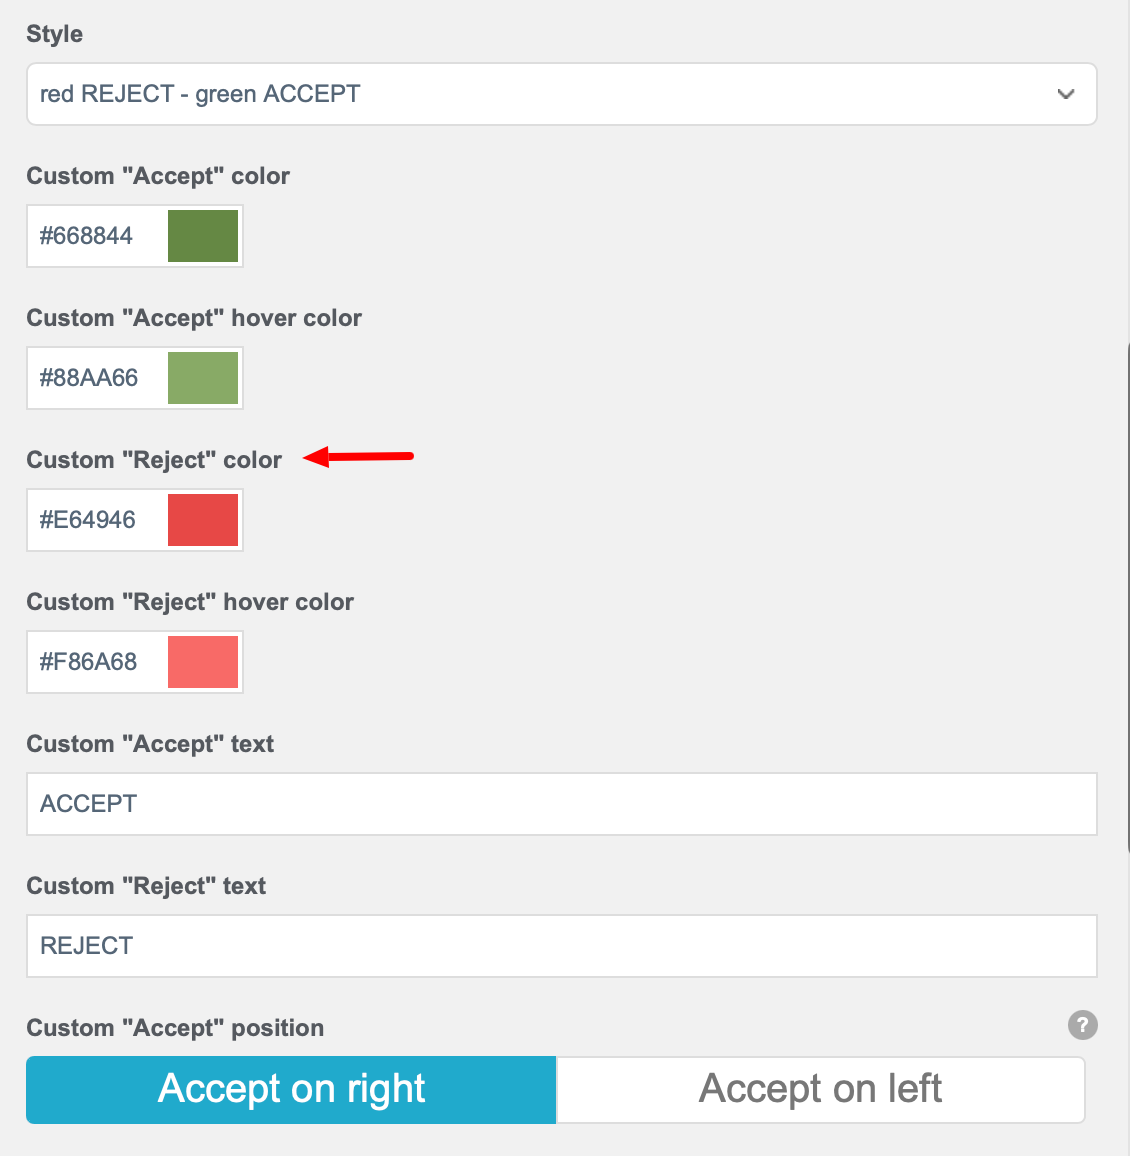
9. Custom "Reject" Color - Click inside the cell to display the color picker to pick the color your button. You can also enter the hex# if you have a specific brand color.
10. Custom "Reject" Hover Color - Click inside the cell to display the color picker to pick the color your button when a guest hovers over the button. You can also enter the hex# if you have a specific brand color.

11. Custom "Accept" Text - The default text on the Accept button is ACCEPT. You can change this to the limit of the size of the button.

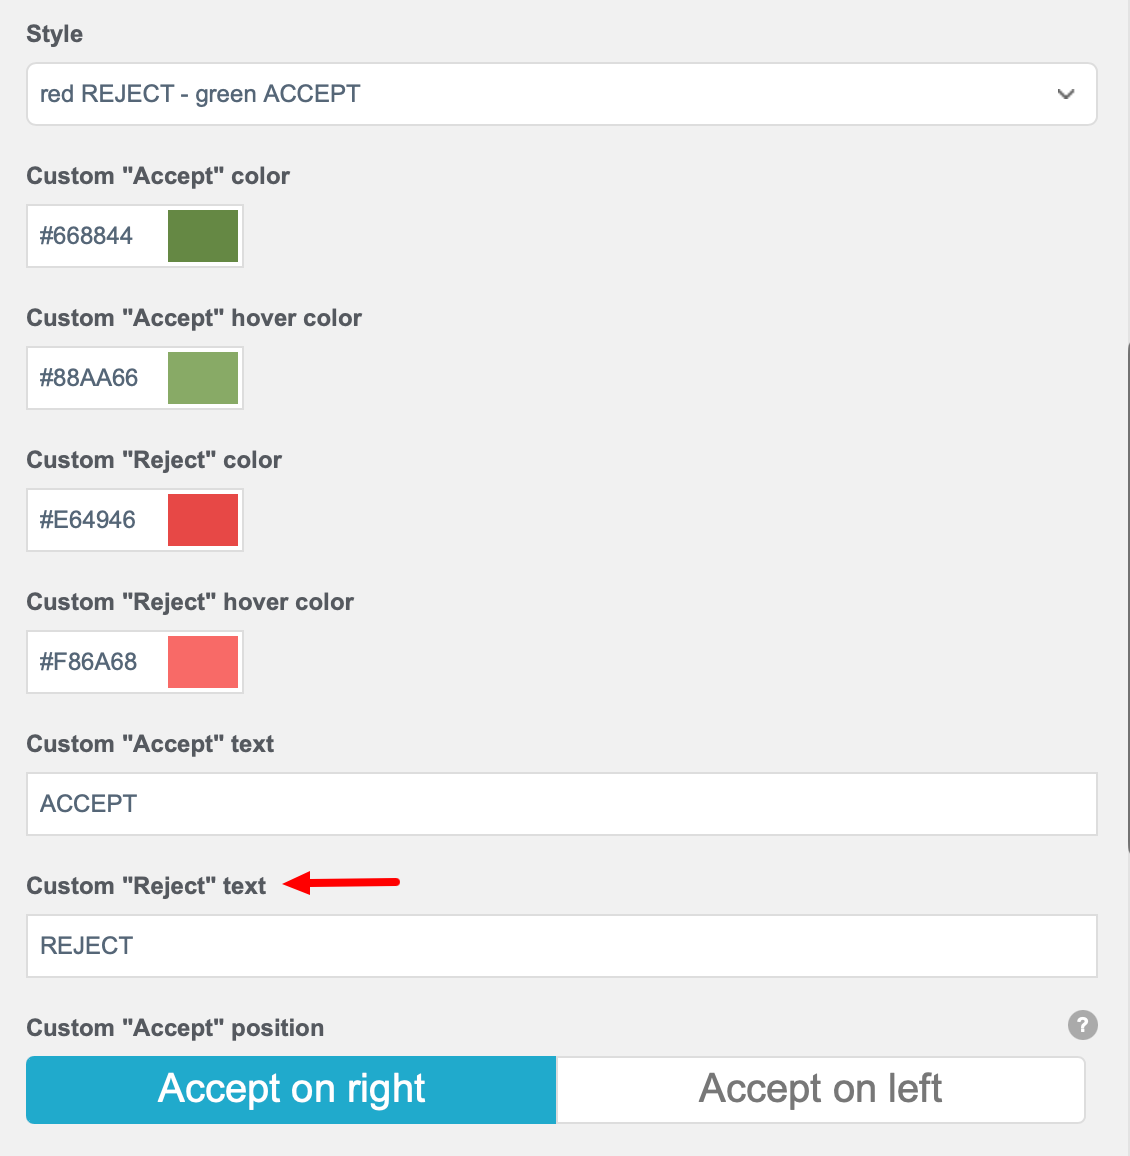
12. Custom "Reject" Text - The default text on the Reject button is REJECT. You can change this to the limit of the size of the button.
13. Custom "Accept" Position - This setting allows you to display the ACCEPT button on the right or the left of the Marketing Popup Content box.

Multi-Channel Opt-in
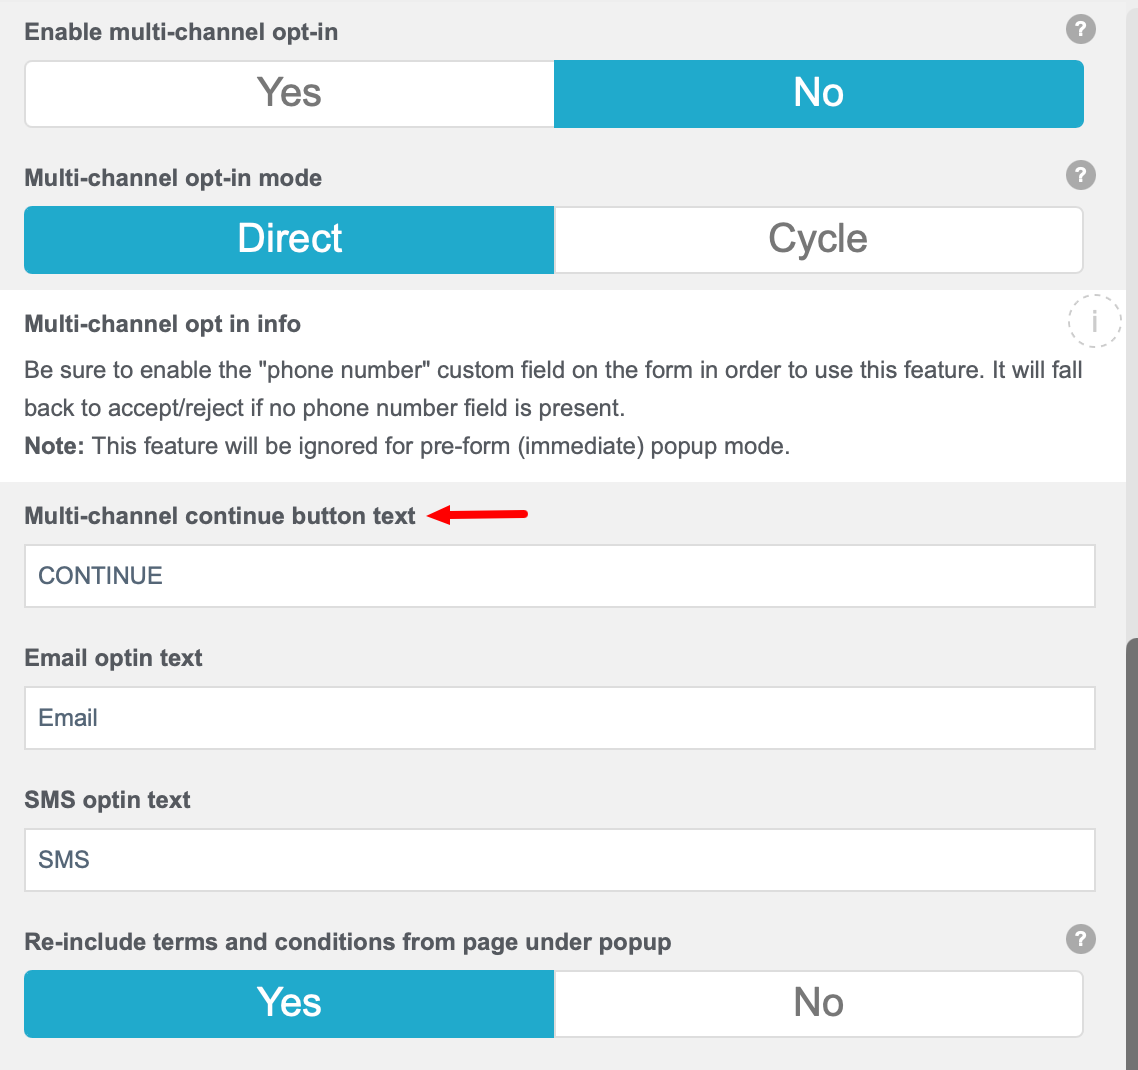
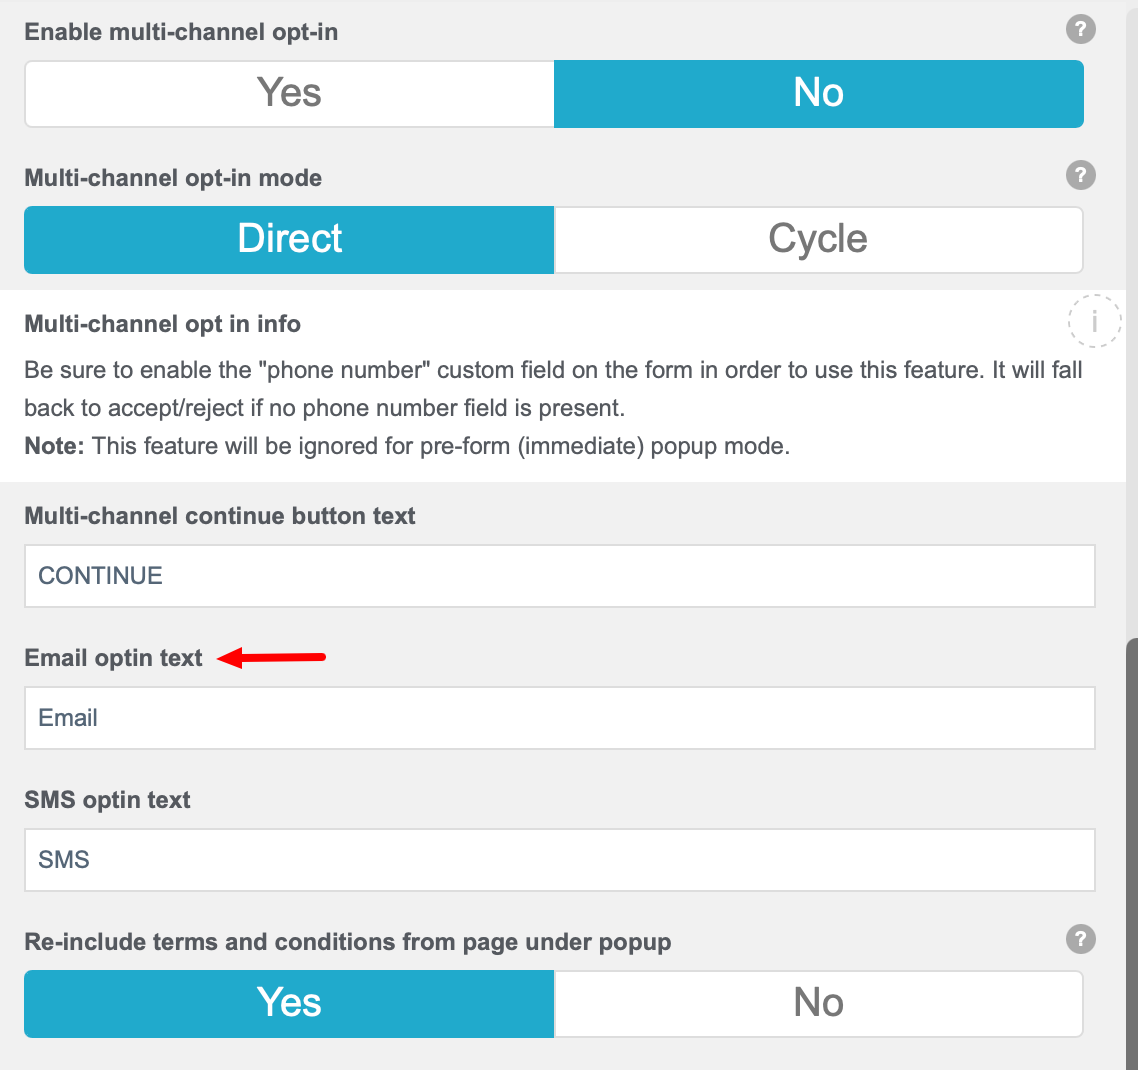
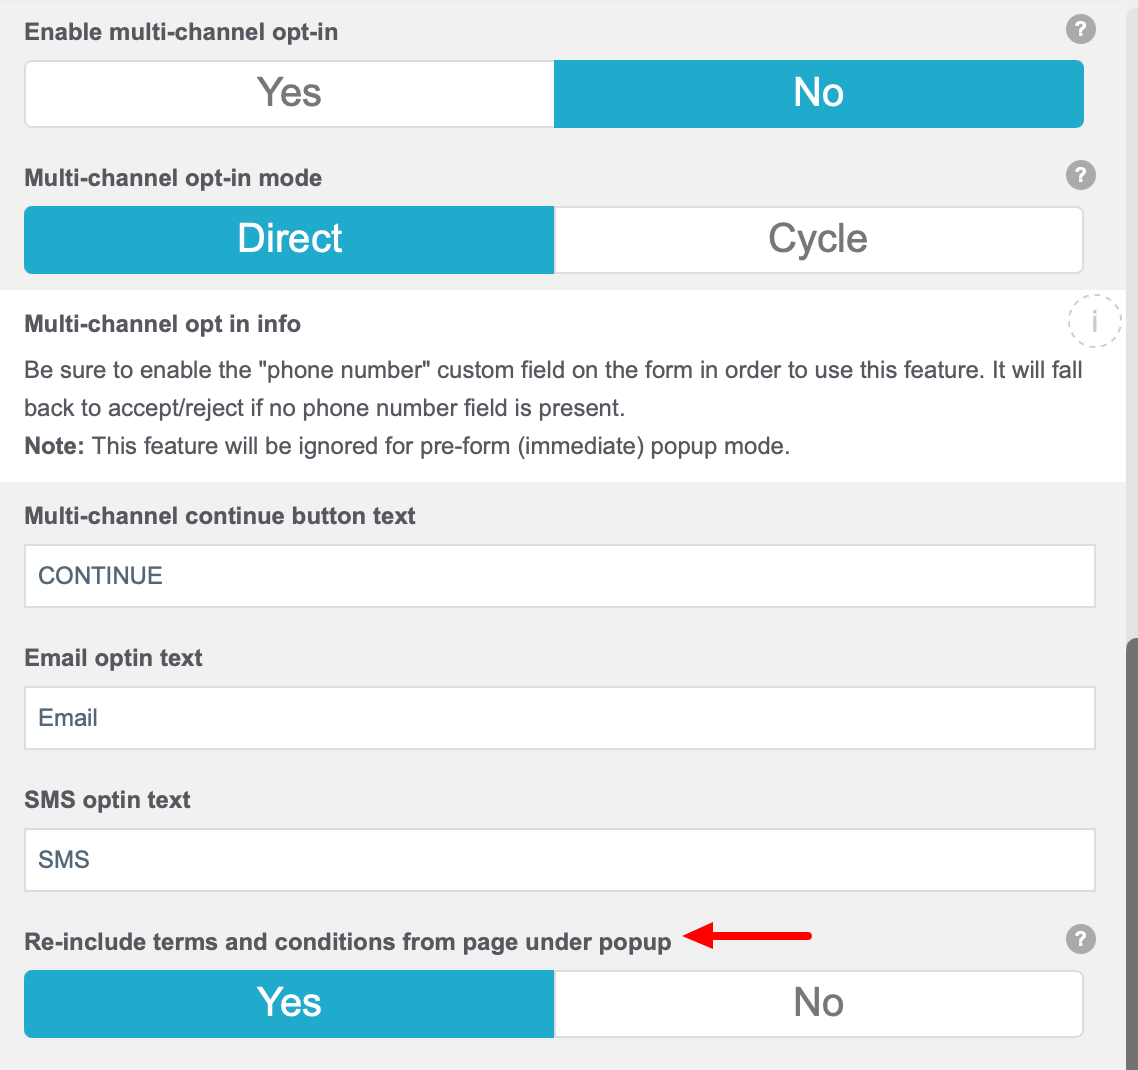
14. Enable Multi-Channel Opt-in Mode - This setting allows you to offer your guests two ways of opting in to marketing: Email and/or SMS. If you set this option to Yes, then your guests are able to choose between Email and/or SMS.

Please note that "phone number' must be enabled on the Form as explained in the above screenshot.
The Continue button will not appear until the guest has accepted or rejected both Email and SMS opt-in.
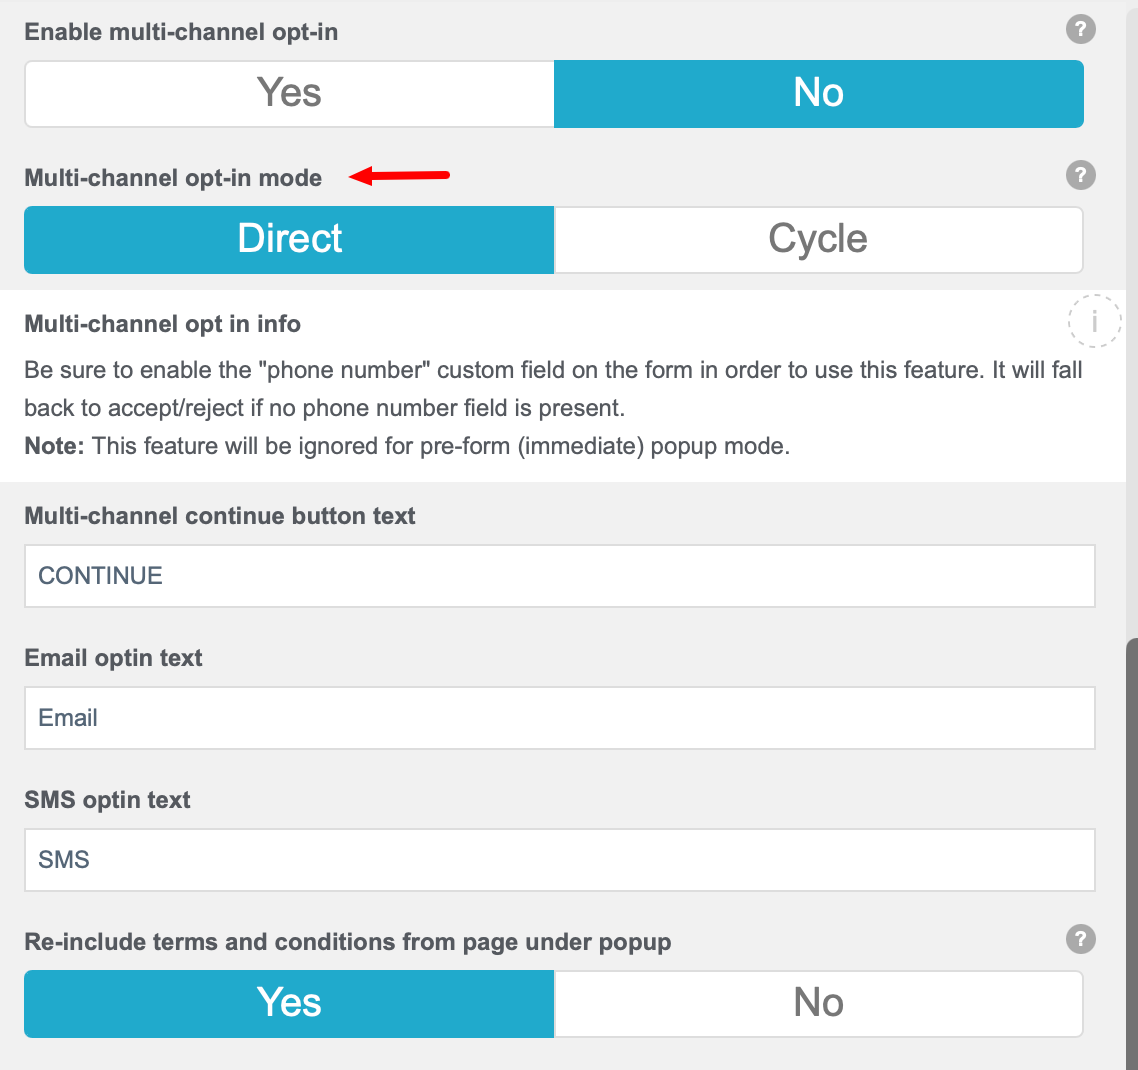
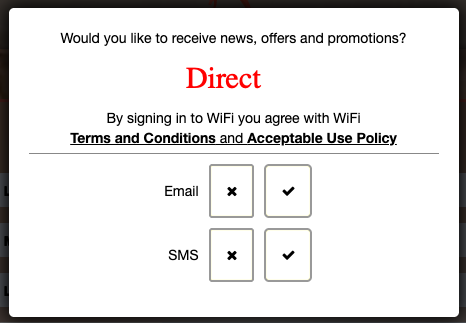
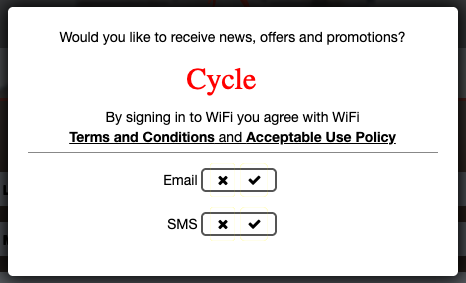
15. Multi-Channel Opt-in Mode - Changing this setting to Direct will display a separate box for each choice; presenting four clickable areas. Cycle will display one box for Email and one for SMS opt-in choices; presenting two clickable areas.
16. Multi-Channel Continue Button Text - The default text on the Continue button is CONTINUE. You can change this to the limit of the size of the button.
17. Email Opt-in Text - This is the text that will be displayed to guests for email opt-in.
18. SMS Opt-in Text - This is the text that will be displayed to guests for SMS opt-in.

19. Re-include Terms and Conditions from Page Under Popup - If this setting is set to No, then the T's & C's from the splash page form will not be displayed in the Marketing Content Popup box.
AdCards
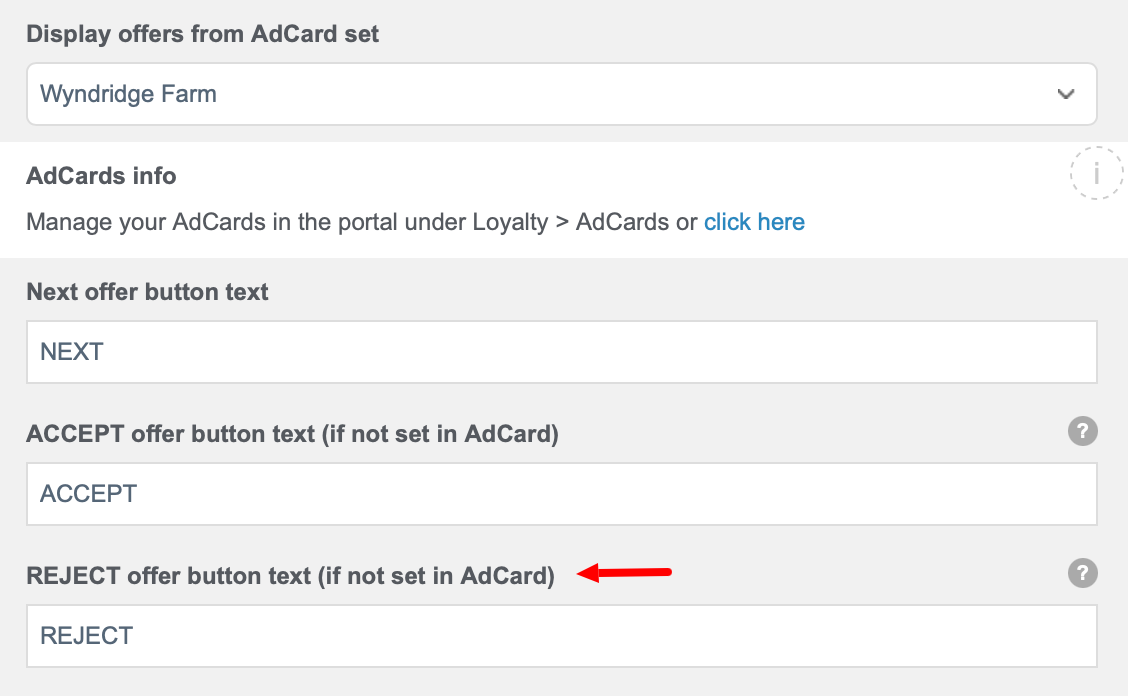
20. Display Offers From AdCard Set - Click on the down arrow to display the available AdCard Sets and choose the one you wish to be displayed to guests before they are given WiFi access.
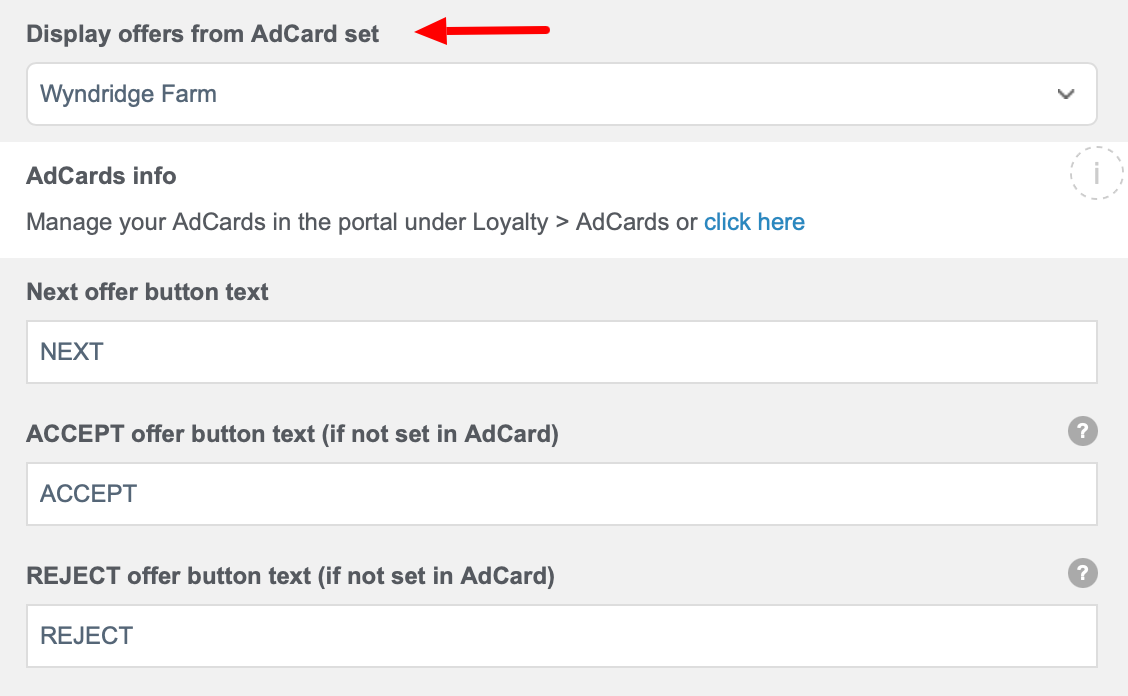
To use an AdCard Set, you first need to created one. For step-by-step instructions, refer to AdCards article.
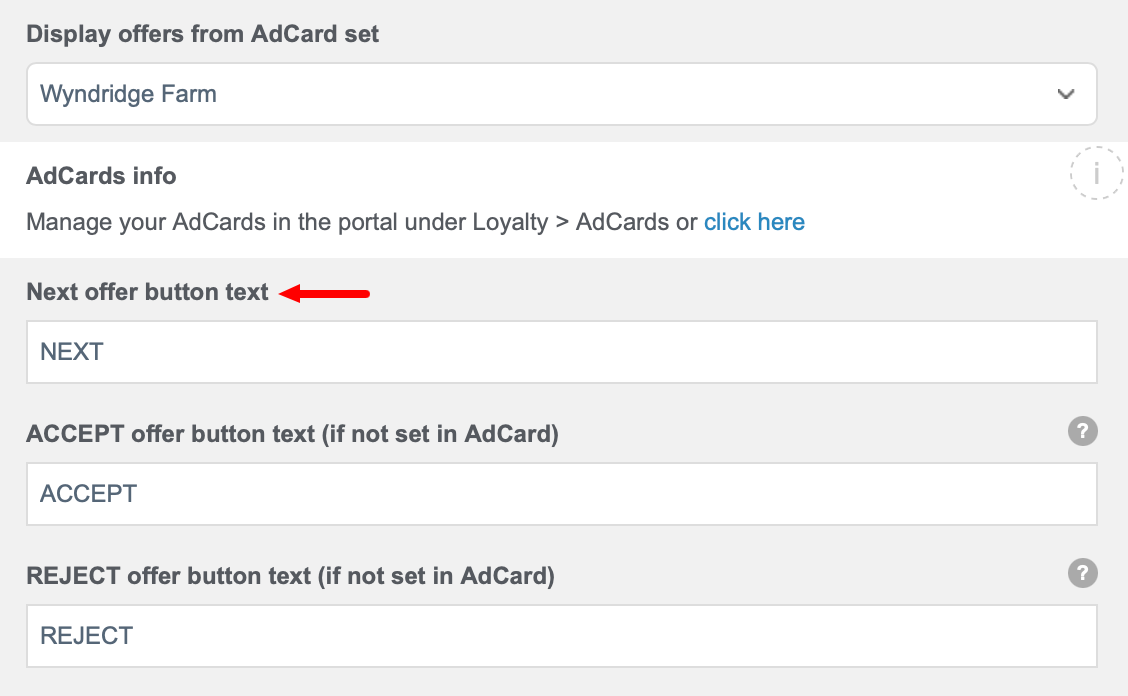
21. Next Offer Button Text - This is the text that will be displayed on your AdCards that are not enabled as Micro Opt-in.
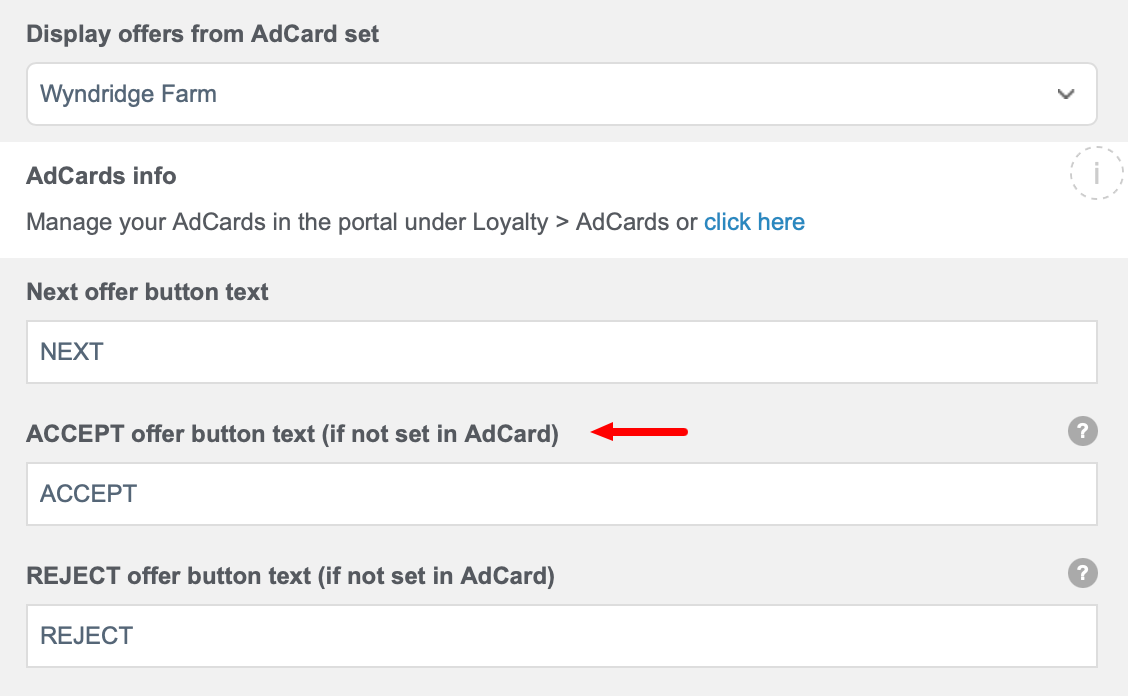
22. ACCEPT Offer Button Text - This is the text that will be displayed on your Micro Opt-in AdCard if the field are left blank on your AdCard.
23. REJECT Offer Button Text - This is the text that will be displayed on your Micro Opt-in AdCard if the field are left blank on your AdCard.
Birthday Popup
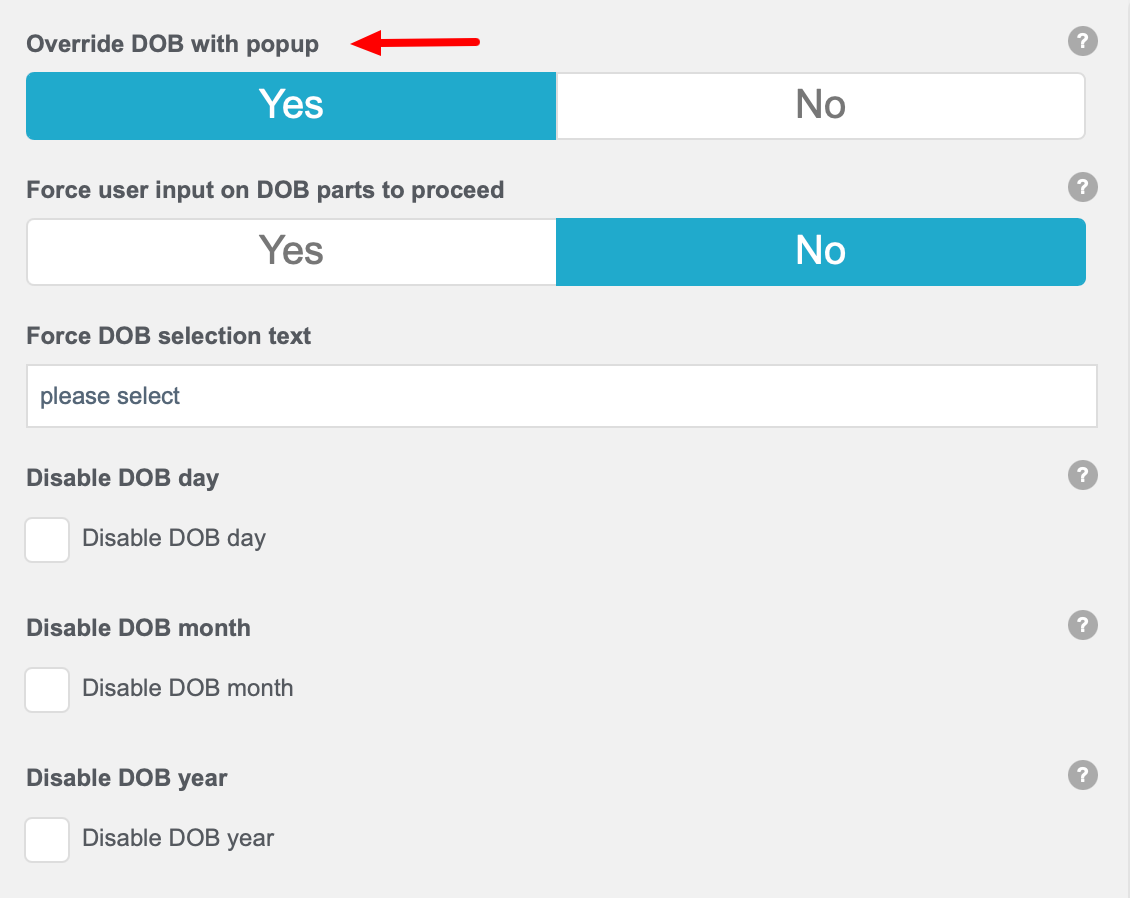
24. Override DOB With Popup - By setting this to Yes, you can acquire your guests' birthday in a fun way without feeling intrusive. This popup will be displayed instead of the normal DOB on the form.
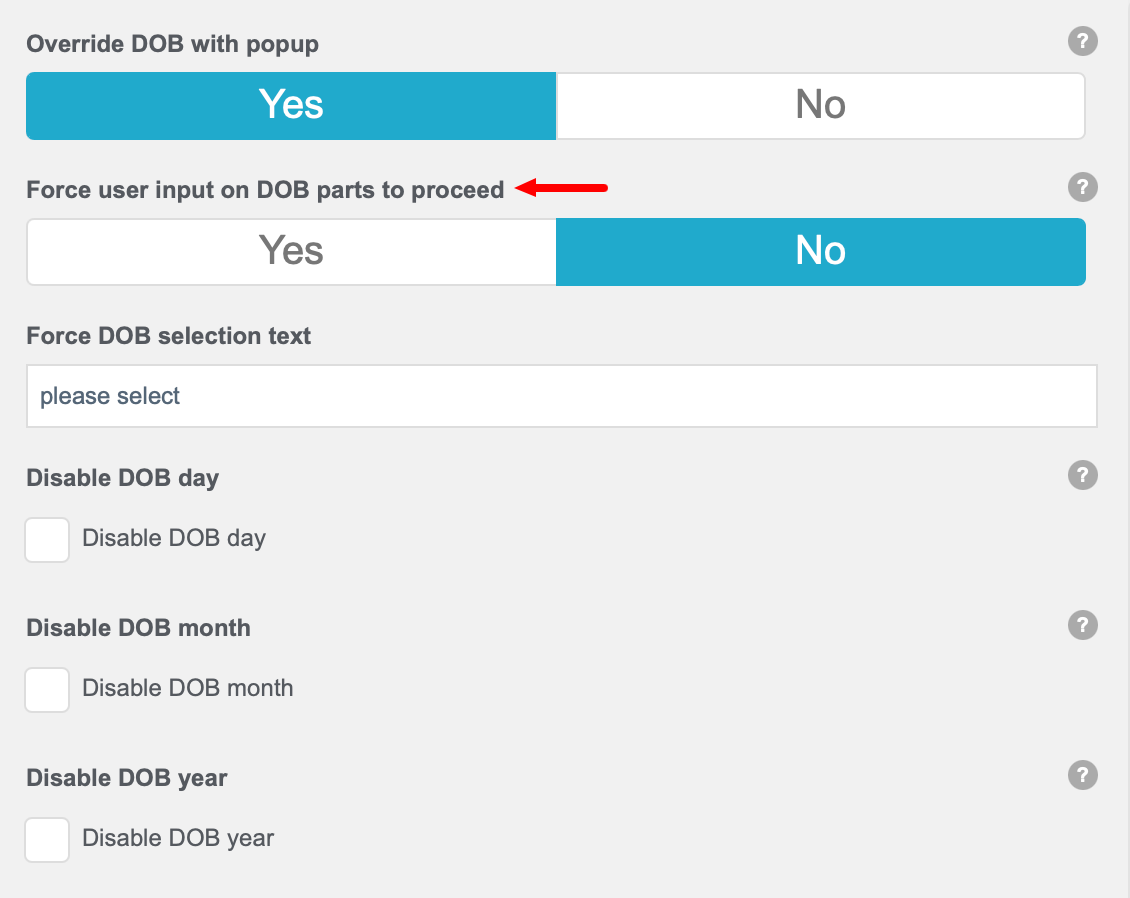
25. Force User Input On DOB Parts To Proceed - Changing this setting to Yes means that the guest will have to enter a DOB before they will be granted access to your WiFi.
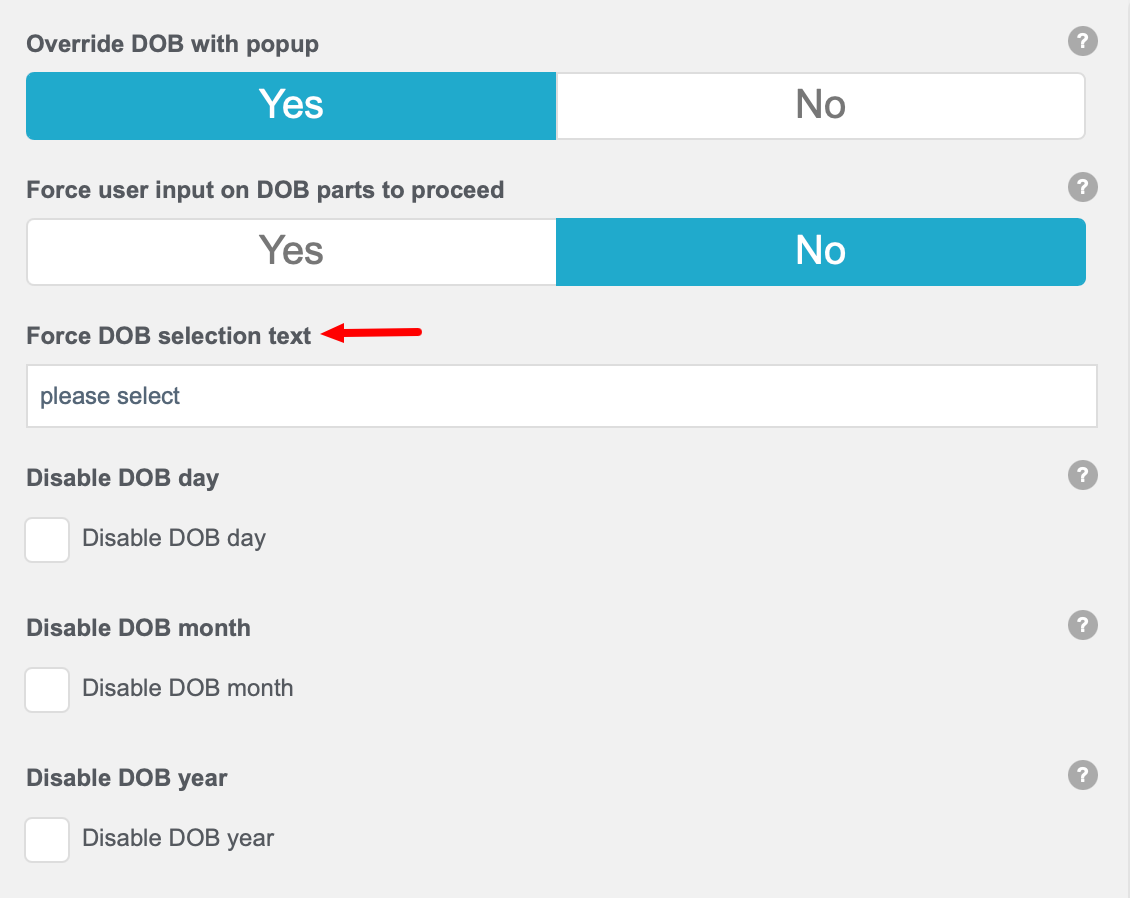
26. Force DOB Selection Text - This is the text that will be displayed in the Birthday Popup asking the guest to select a month, day and a year.
27. Disable DOB Day, Month and Year - These checkboxes allow you to not display a portion of the DOB popup.
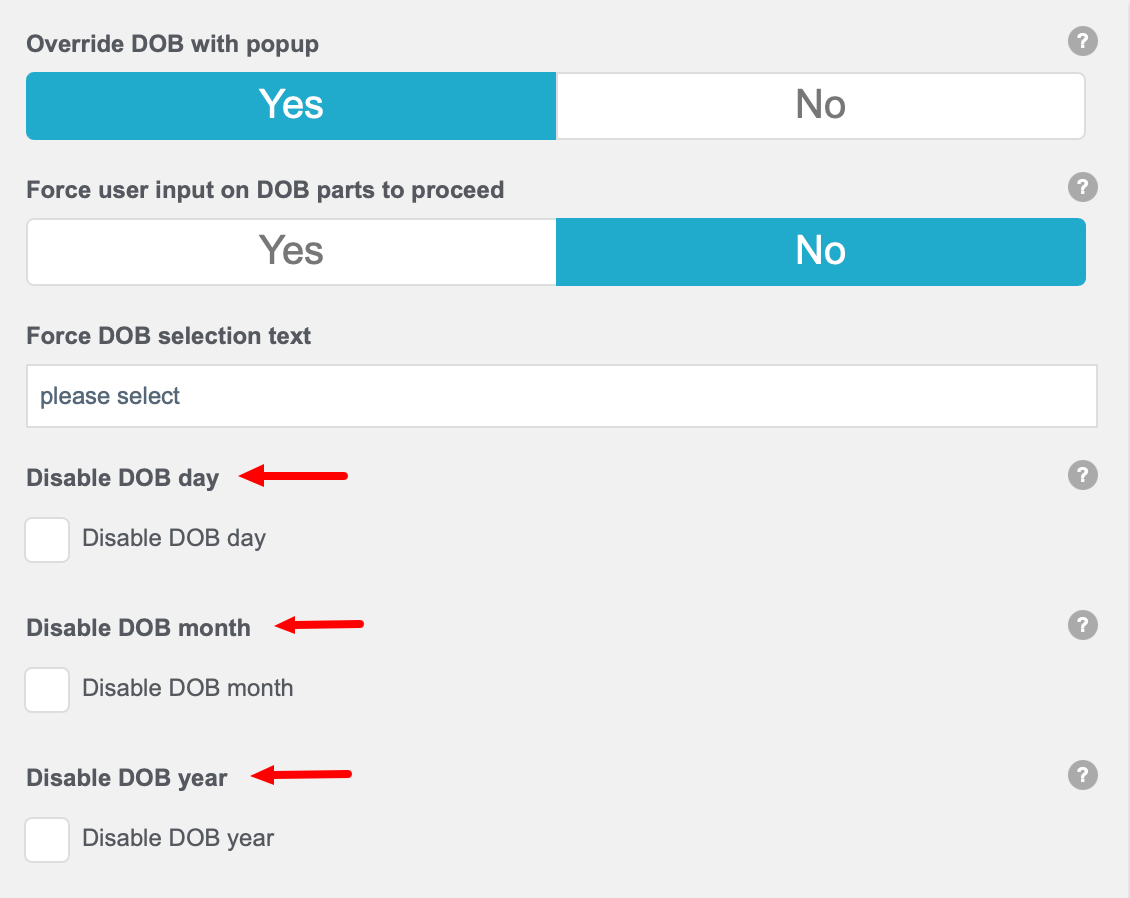
If you tick all three, you are essentially disabling the Birthday Popup.
27. DOB Image - You can change the default image presented to your guests. Click Choose. If the image is already in your Media Library then click your desired image and click Select Image.
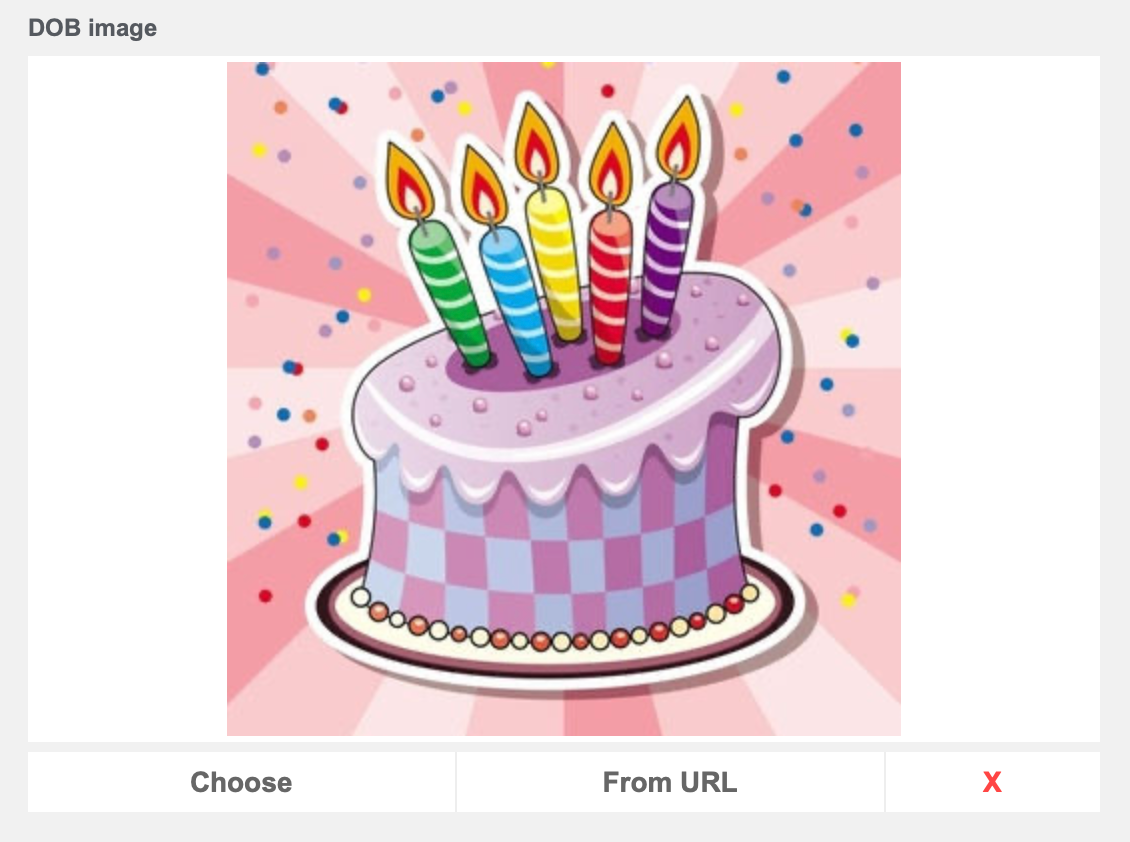
If the image is not in your Media Library, then click the Upload files tab and follow the instructions for adding the image to your Media Library. Once that is done, then proceed as described at the beginning of this step.
IMPORTANT: Do not use an image URL from another website domain, by clicking From URL, as this may cause issues with the splash page loading. If you do need to use external images, be sure to add those domains to your Walled Warden Settings on your network.
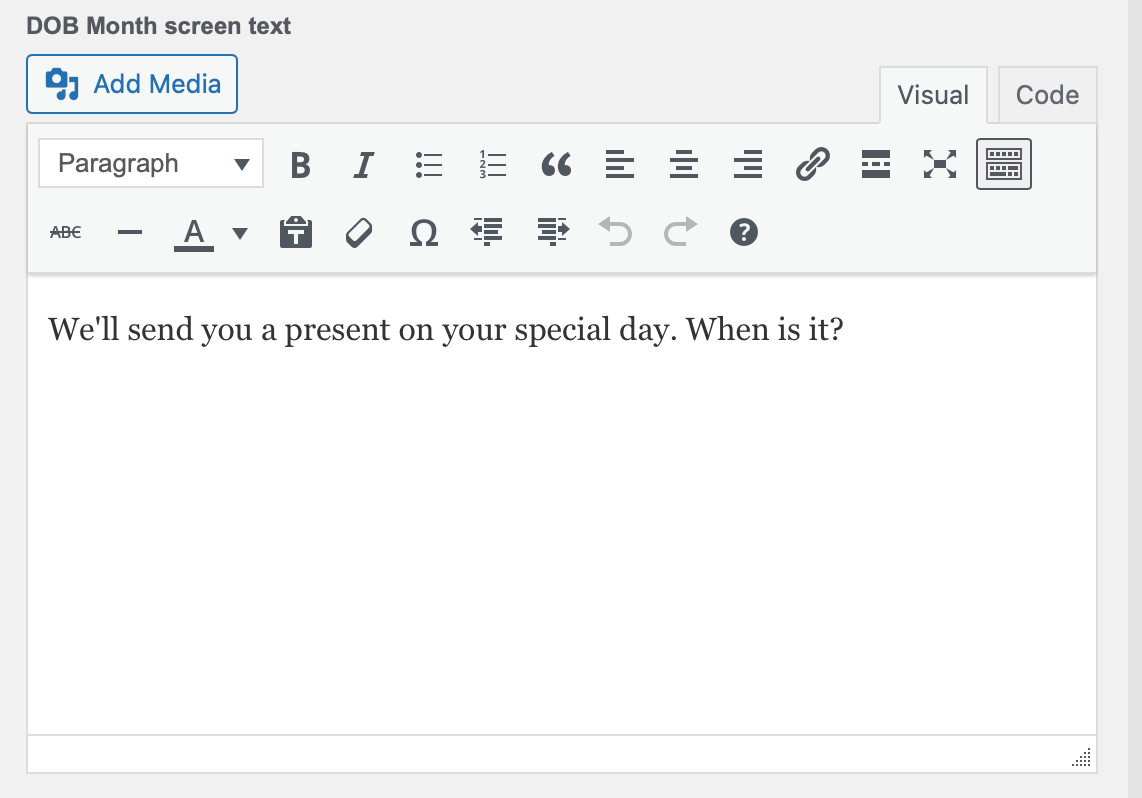
28. DOB Month Screen Text - This is the text that will be displayed your guests when the Birthday Popup asks for the guests' birthday month.
29. DOB Day Screen Text - This is the text that will be displayed your guests when the Birthday Popup asks for the guests' birthday day.

30. DOB Year Screen Text - This is the text that will be displayed your guests when the Birthday Popup asks for the guests' birthday year.
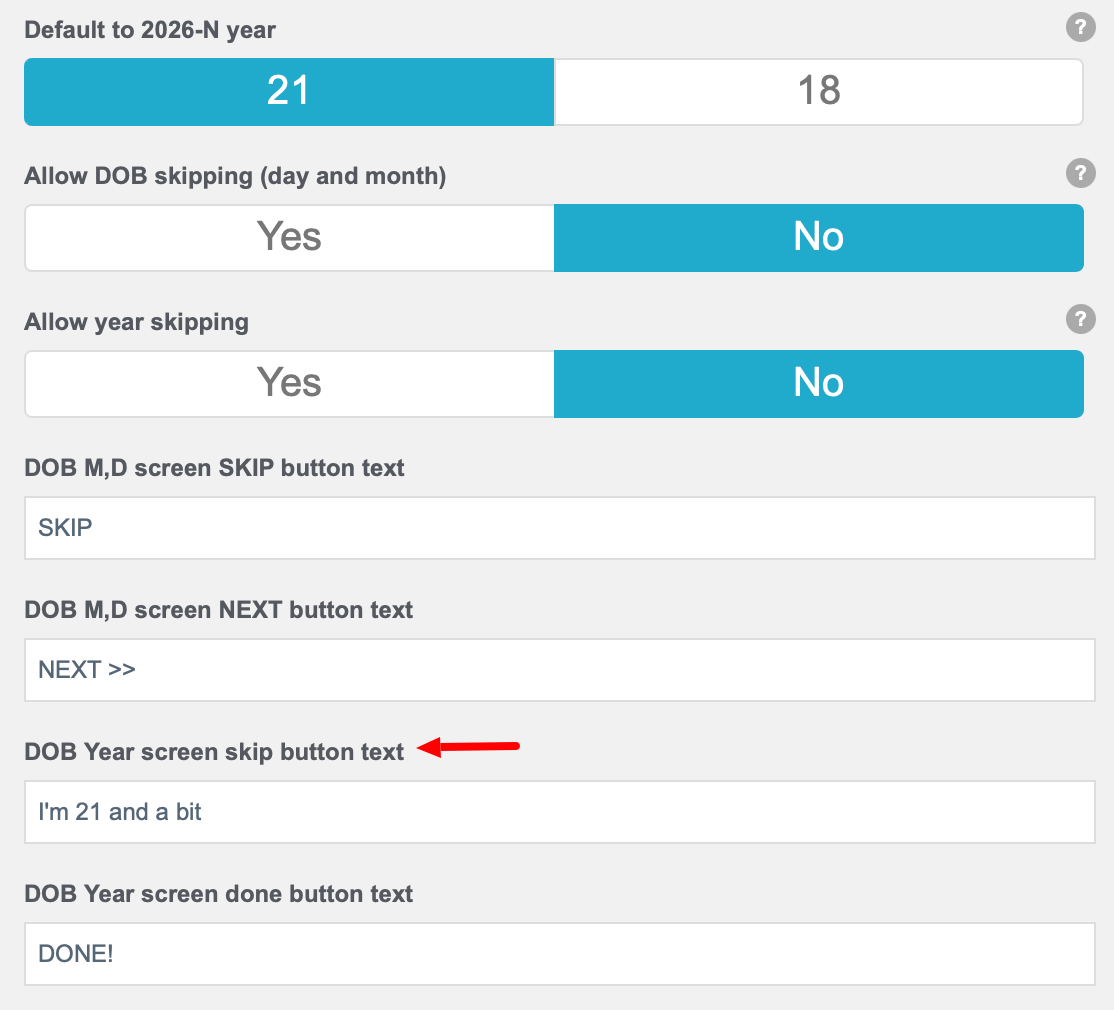
31. Default To 2026-N Year - The Year in this label will always reflect the current year so that you can default the guest to the age of 21 or 18.
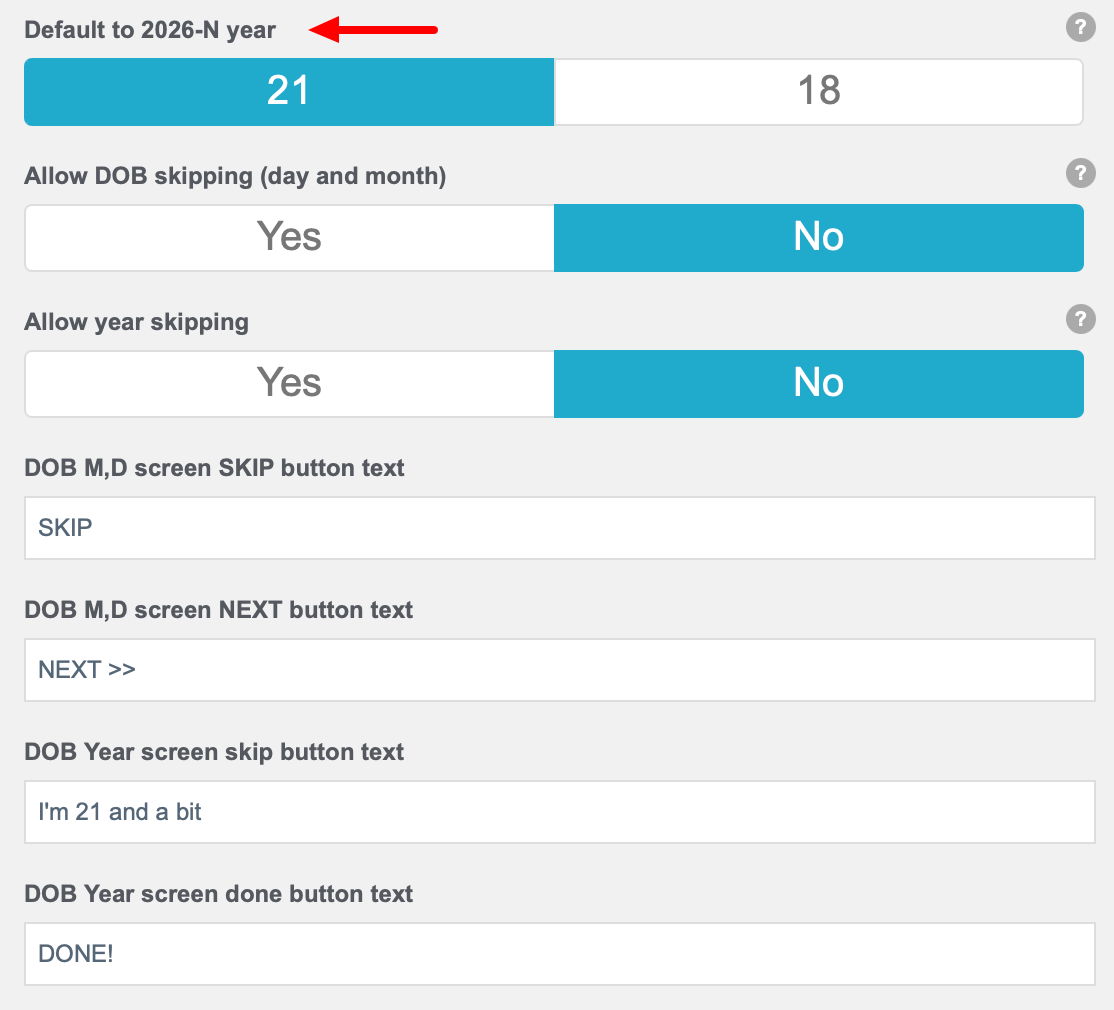
32. Allow DOB Skipping (Day and Month) - You can allow your guests to skip the selection of their birth day and month.
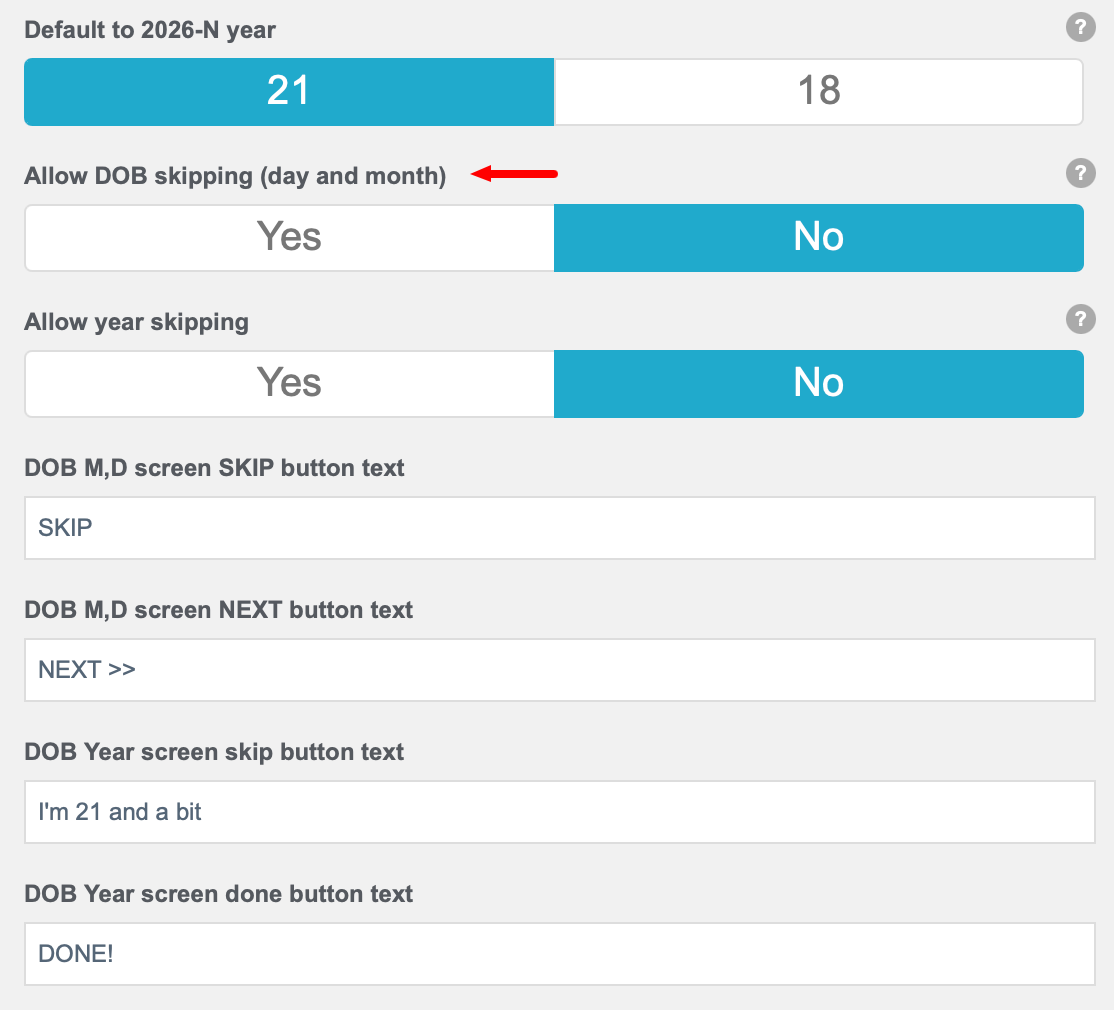
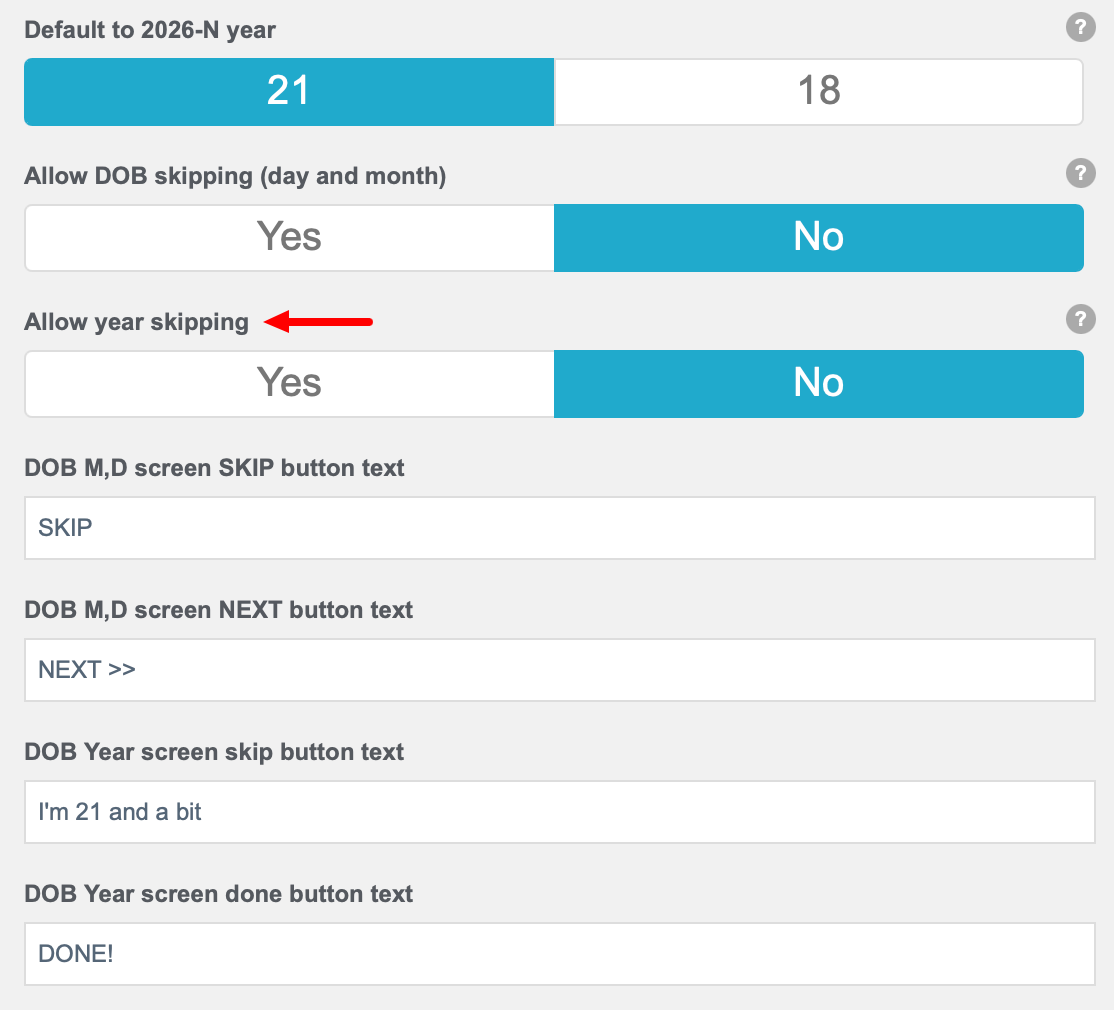
33. Allow DOB Year Skipping - You can allow your guests to skip the selection of their birth year.
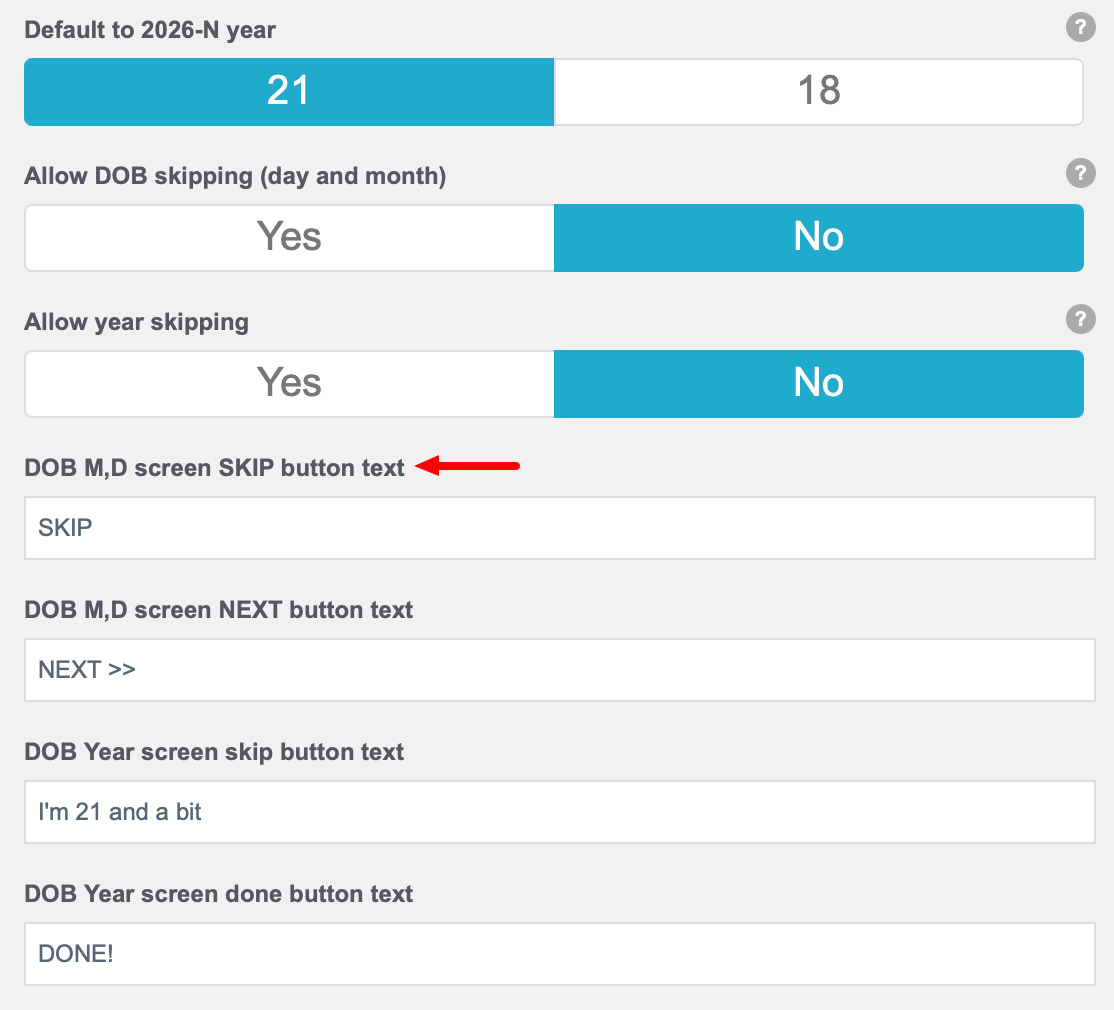
34. DOB M and D Screens SKIP Button Text - This is the text that will be displayed on the SKIP button should you enable guests to skip selecting DOB Day or Month.
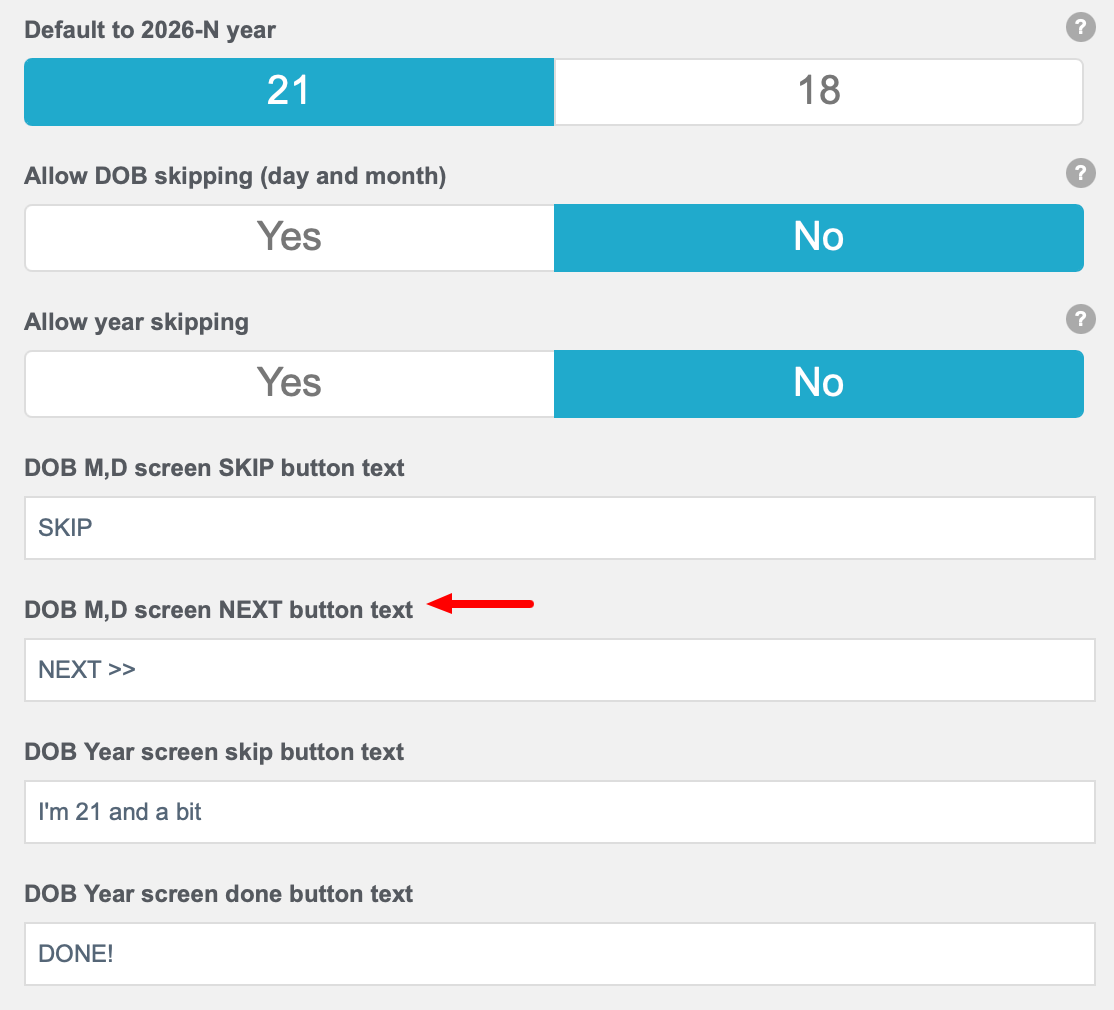
35. DOB M and D Screens NEXT Button Text - This is the text that will be displayed on the NEXT button for DOB Day or Month.
37. DOB Year Screen SKIP Button Text - This is the text that will be displayed on the SKIP button for DOB Year.
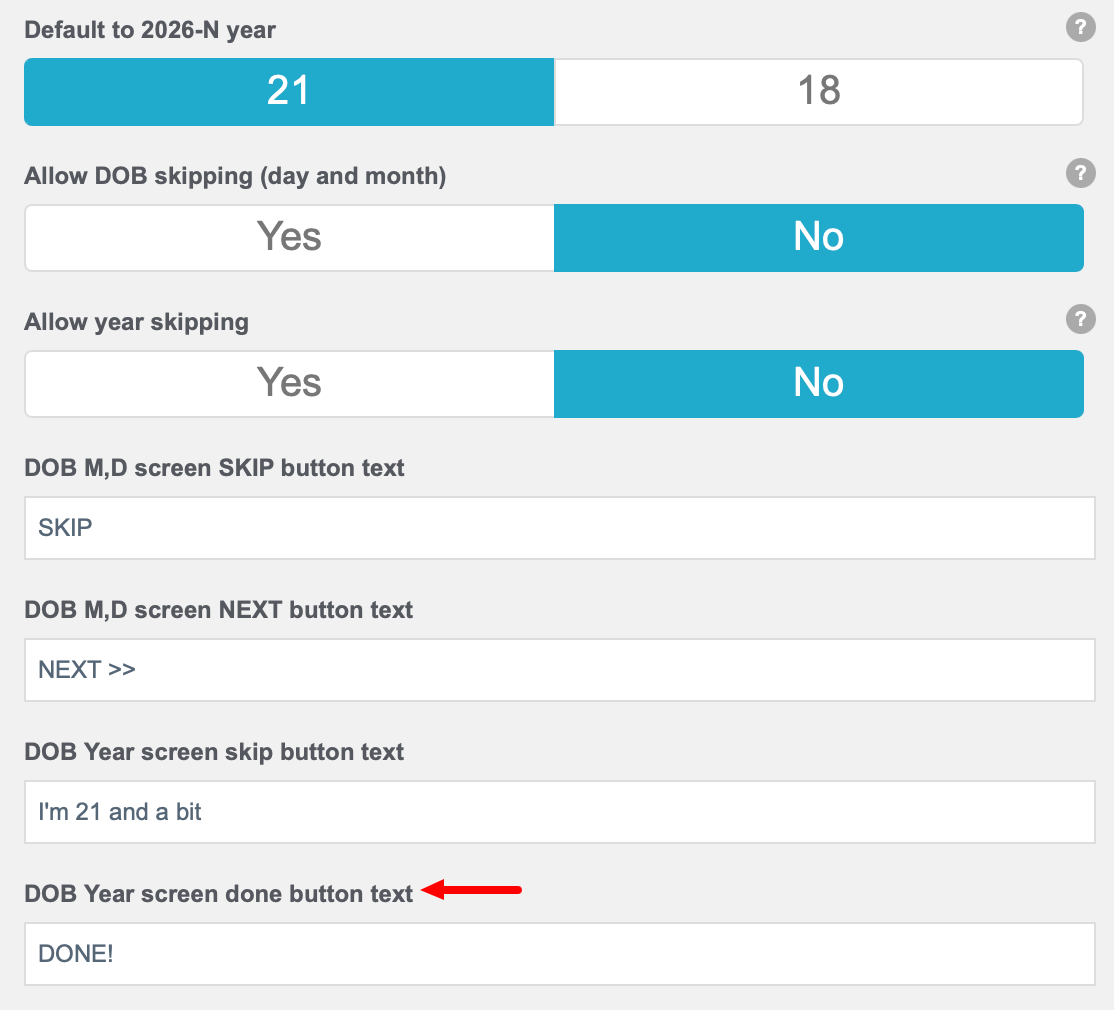
38. DOB Year Screen DONE Button Text - This is the text that will be displayed on the NEXT button for DOB Year after the guest has chosen a year.
If your guest is making a return visit across your estate and the guest has given their birthday before, Fydelia will not show the birthday popup.
Animations And Miscellaneous
ANIMATIONS and MISCELLANEOUS
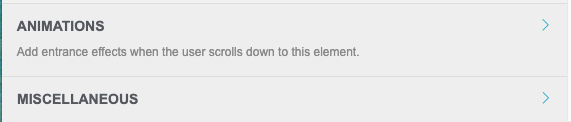
Animations settings on the Multi Step Marketing Widget have no effect on your splash page.
Miscellaneous uses custom CSS styling and falls outside the scope of this knowledge base article. For guidance on advanced customization, we recommend reaching out to your design team or contacting our support team directly.