AdCards

Boost opt-in rates by showing guests exactly what they gain from staying connected. When guests understand why they’re being asked to opt in — and what’s in it for them — they’re far more likely to say yes.
You will learn how create/edit an AdCard Set and how to schedule an AdCard.
Prerequisites: You must be logged into your Fydelia account.
Creating an AdCard Set
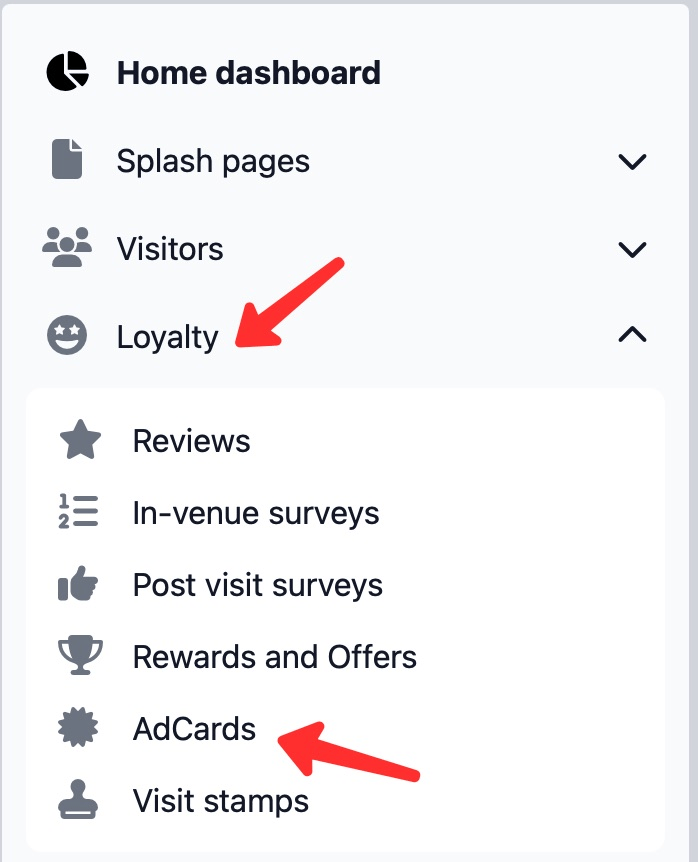
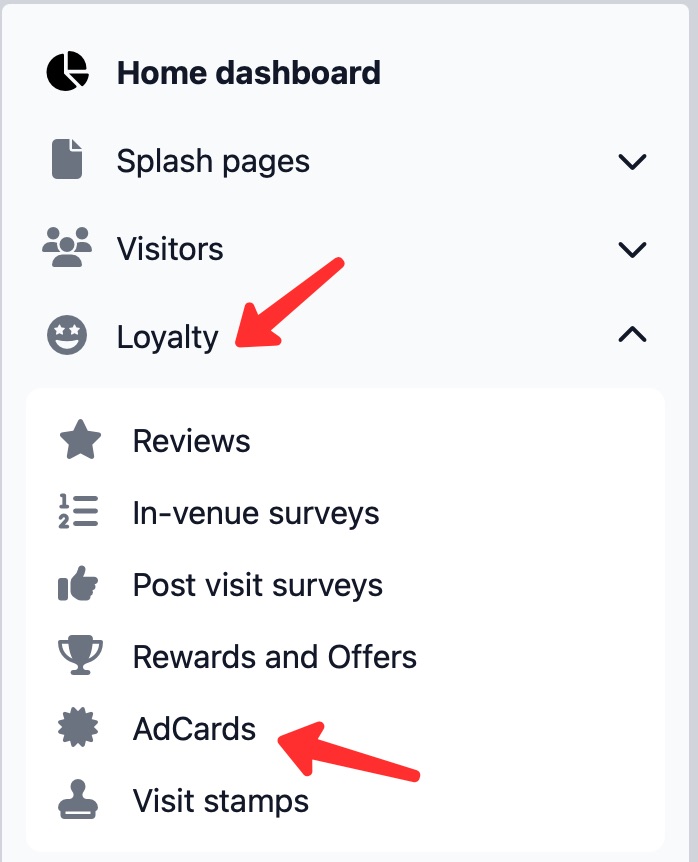
1. From the lefthand panel choose Loyalty and then choose AdCards.
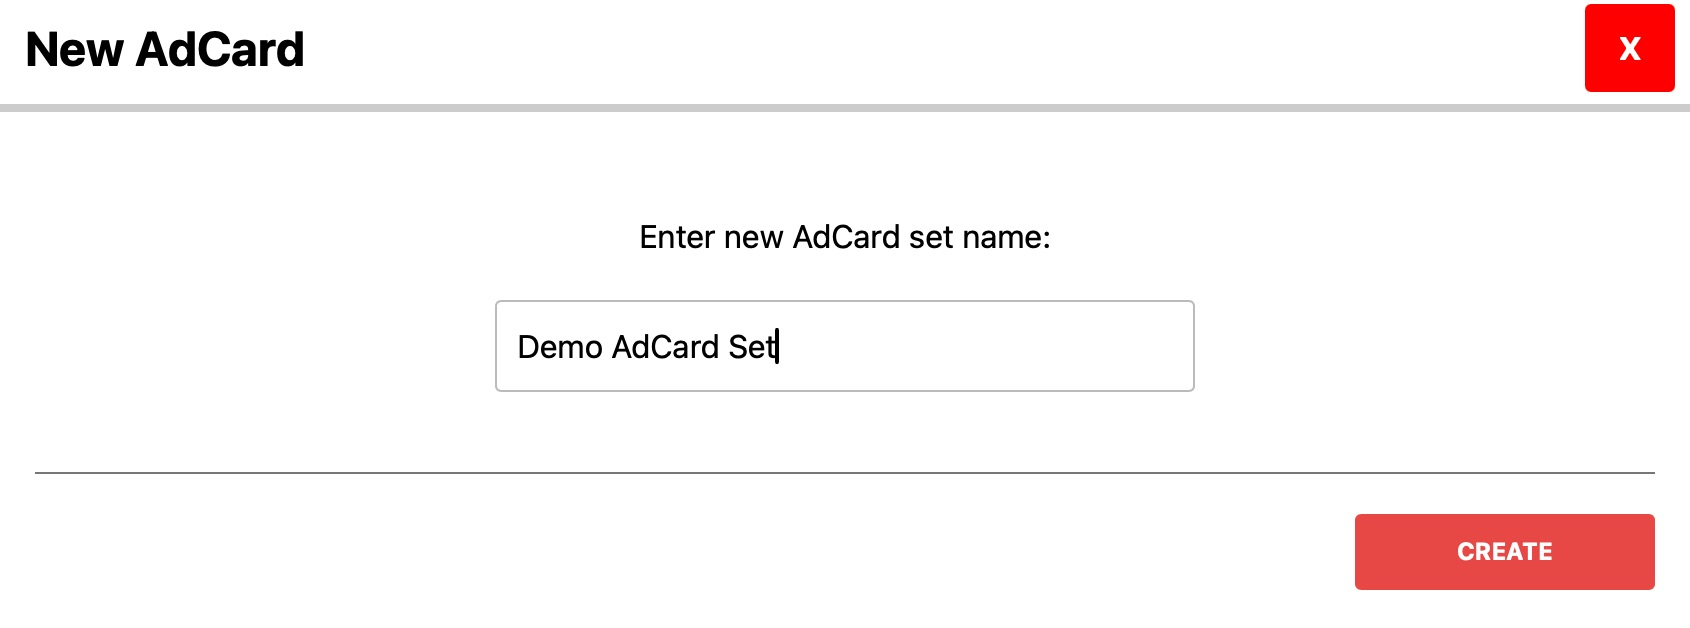
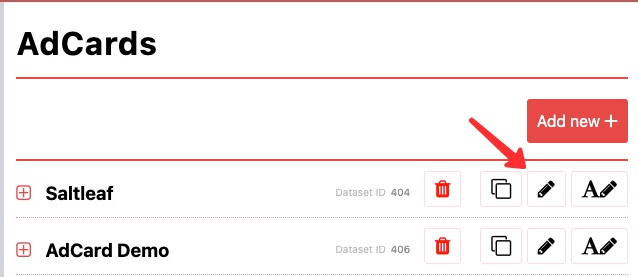
2. Click the button Add New+, enter a name for the set and then click Create button
3. For the AdCard Set you just created, click the pencil icon to edit the card set

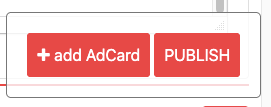
4. Click the +add AdCard button.

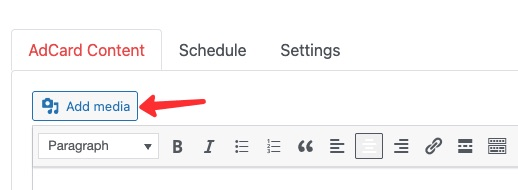
5. Now click Add Media button.
6. If the image is already in your Media Library then click your desired image and click Insert Into Post.
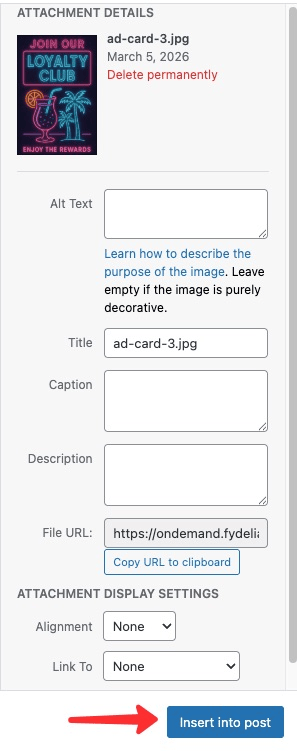
If the image is not in your Media Library, then click the Upload files tab and follow the instructions for adding the image to your Media Library. Once that is done, then proceed as described at the beginning of this step.
We recommend a maximum pixel size of 300px.
7. You can now add an optional 1 or 2 short sentences beneath your image. Remember, AdCards:
Increase engagement in your offers
Build trust
Increase your overall opt-in rates
Don’t overwhelm your guests with too much information that will cause them to disengage.

8. At this point you can click Publish button and your AdCard Set is ready to use.
If you wish to add another card to your set, follow steps 4-8.
We recommend limiting the number of cards to a set to three so as not to overwhelm your guests and introduce friction to their WiFi access.
If your AdCard set has more than three cards, you can limit the number to be displayed with scheduling. (See the Make Your AdCards More Powerful section below.)
To create multiple AdCard Sets follow steps 2-8.
How To Use AdCards
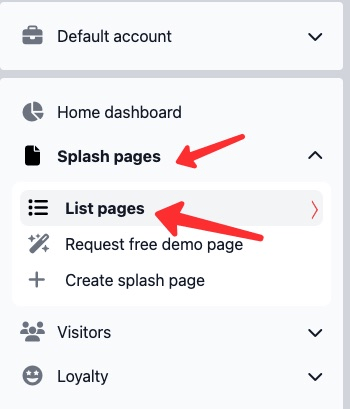
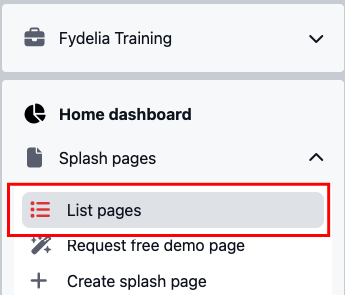
1. From the main menu to the left, click Splash pages and then click List pages.
2. Click the Cogwheel to the right of the screen for your splash page.

3. When the submenu is shown, click the Pencil icon to edit your page.

4. Locate the Multi Step marketing popup widget on your page.

If one does not exist, then add it to the page by dragging it to the page from the left-side menu where you will find it under Splash Elements.
5. Hover over the widget until you see the blue Edit button appear in the upper lefthand corner of the widget and click it.
6. A configuration panel will appear on the left side of the screen. Scroll down until you see Display offers from AdCard set. Click on the down arrow to display the available AdCard Sets and choose the one you wish to be displayed to guests before they are given WiFi access.

7. Click on the Save Changes button and then Publish.
Making Your AdCards More Powerful
Scheduling
You can only have one AdCard Set displayed at a time for your splash page. If you were running a marketing campaign over a week or a month, switching the AdCard Set to be displayed is as easy as choosing the desired AdCard Set. Suppose, however, you had several campaigns running concurrently and those campaigns ran at different times of the day or week. This is where AdCard scheduling comes in. This feature allows you to have more than the recommended three AdCards in an AdCard Set, thus allowing you to set their scheduled appearance and not overwhelm your guests.
1. Choose the AdCard Set that contains the AdCard you wish to schedule by clicking Loyalty > AdCards from the lefthand panel.
2. Click the Pencil icon to edit the AdCard Set.
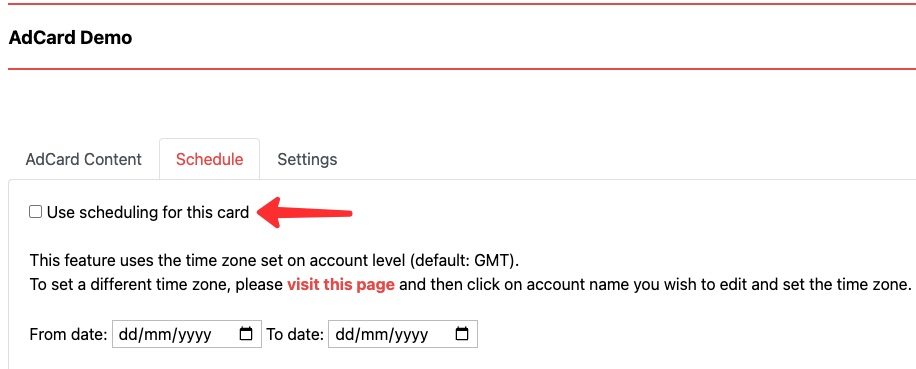
For the AdCard you wish to schedule, click the Schedule tab.
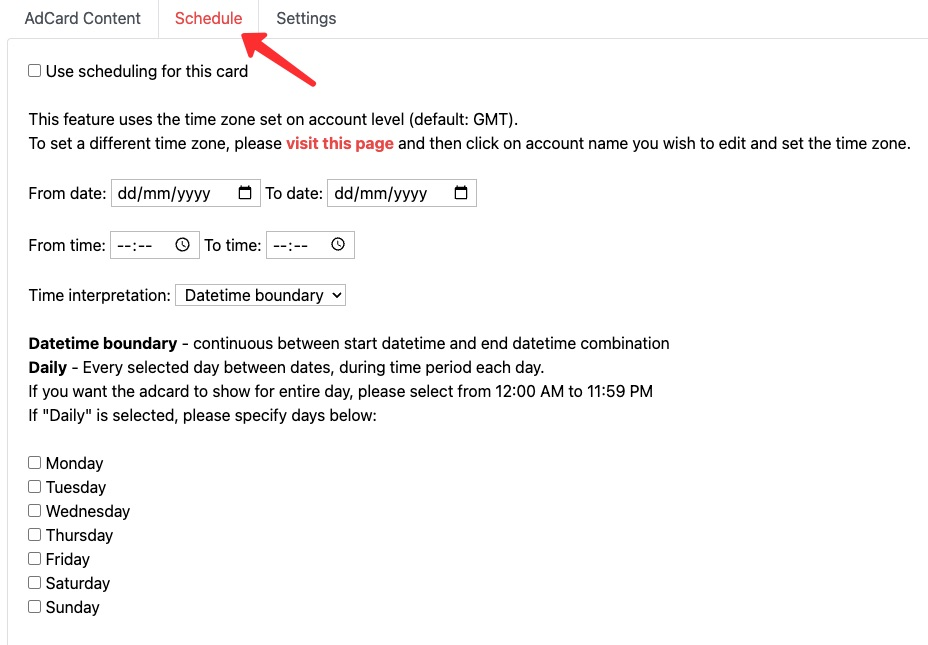
4. Tick the box for Use scheduling for this card and set the schedule using the Date, Time or Days fields.
5. Click Publish and scheduling is now live.
Any AdCard in the set where the Use scheduling for this card isn’t checked will automatically be displayed to your guests.
Micro Opt-Ins
Your guest may opt-out of overall marketing. However, you can encourage an opt-in for a specific marketing campaign offer, service or event even if the guest opts-out of overall marketing. To enable an AdCard with an Opt-In option, do the following:
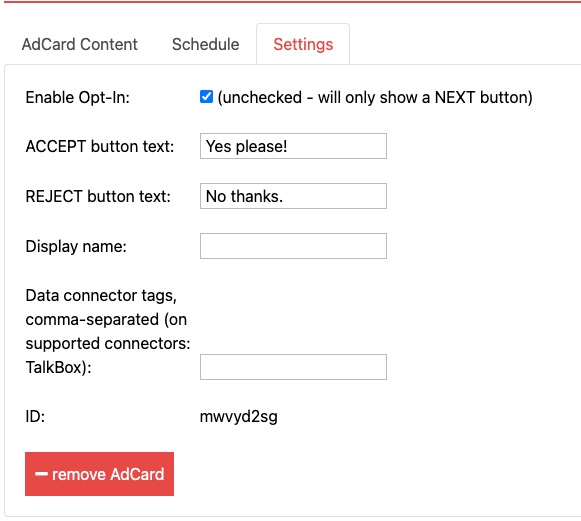
1. Click the Settings tab for the AdCard you wish to encourage a Micro Opt-In. Check Enable Opt-In box and enter the text you want to appear for the ACCEPT and REJECT buttons.
If the ACCEPT and REJECT buttons text are left blank, the text that will appear on the buttons will be filled in by the Multi Step Marketing Widget.
You do not need to enter data for Display Name and Data Connect Tags.
2. Click Publish for your changes to take effect.
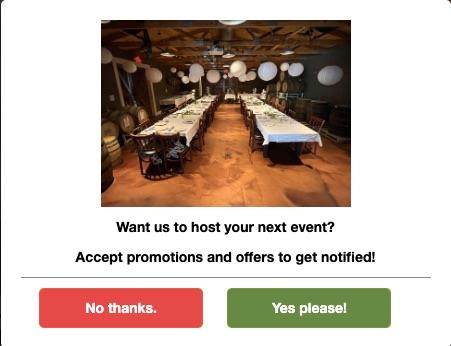
Micro Opt-in AdCard
The color of the buttons on your AdCards are customized in the Multi Step Marketing Widget.
Though Fydelia collects the Micro Opt-In for a guest, you must ensure your CRM can receive this custom data so that you can use it. Please consult your CRM documentation, support team or account manager.
Smart Intent Routing
Another great feature of AdCards is that you can utilize Smart Redirects to guide guests toward targeted services or events based on their immediate interests, maintaining a seamless experience regardless of marketing status. This feature uses the Micro Opt-in feature above. Your guest may opt-out of overall marketing. However, you can encourage them to take action (CTA) for a specific marketing campaign offer, service or event after they submit the form even if the they opt-out of overall marketing. To enable an AdCard with a CTA Opt-In option, do the following:
1. Click the Settings tab (1) for the AdCard you wish to encourage a CTA Micro Opt-In. Check Enable Opt-In box (2) and enter the text you want to appear for the ACCEPT (3) and REJECT (4) buttons. Make a note of the AdCard ID (5) as you'll use this for setting up the redirect shown below.
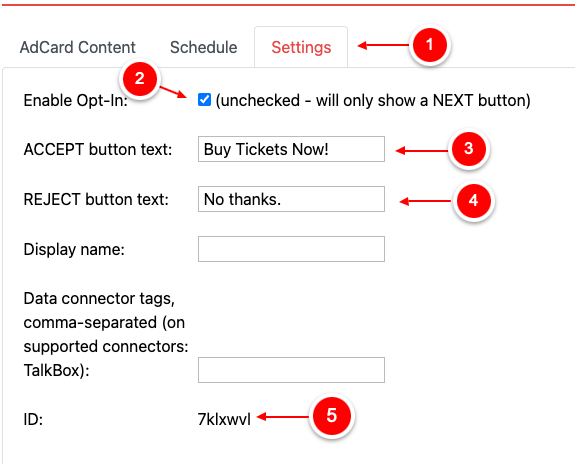
Make a note of the AdCard ID (5) as you'll use this for setting up the redirect shown below.
If the ACCEPT and REJECT buttons text are left blank, the text that will appear on the buttons will be filled in by the Multi Step Marketing Widget.
You do not need to enter data for Display Name and Data Connect Tags.
2. Click Publish for your changes to take effect.
3. Viewing your splash pages - To view and edit your splash pages choose the List Pages from the Splash Pages menu.
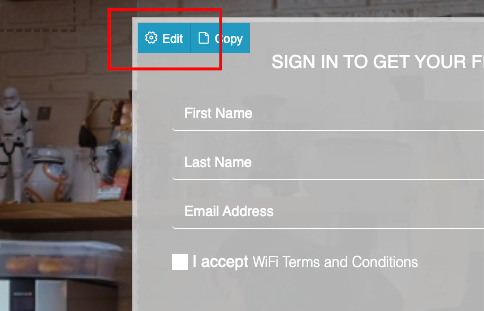
4. Hover over the login form until the blue context menu appears and click Edit.
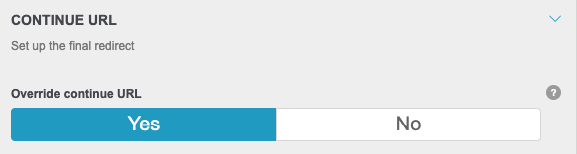
5. Then scroll down the settings until you find the Continue URL setting. Set Override Continue URL the override to Yes.
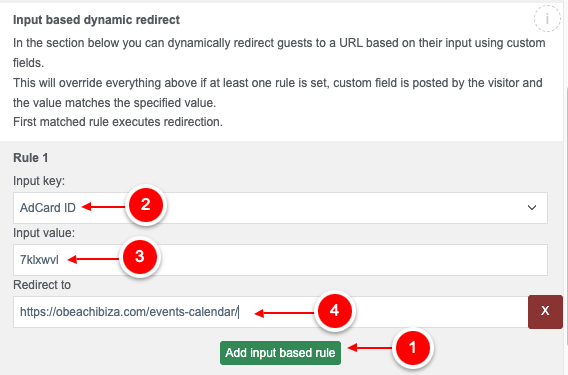
6. Then scroll down the settings until you find the Input Based Dynamic Redirect setting. Click Add Input Based Rule (1). Set Input Key from the dropdown to be AdCard ID (2). Using the AdCard ID that you noted above, enter that value in Input Value field (3). Next, enter the URL you wish to direct your guests in Redirect To field (4).
If you have more than one AdCard with a CTA Micro Opt-in, Fydelia will execute the first one. Fydelia cannot track a guest's journey after they submit the form.
7. Once you are happy with the ranges, click Save Changes in the bottom left of the screen.
8. Now save all of your changes by clicking Publish Changes. You're all set!


CTA Micro Opt-in AdCard
The color of the buttons on your AdCards are customized in the Multi Step Marketing Widget.